WPfomify Documentation
How to Integrate Give with WPfomify?
Integrating Give with WPfomify is very simple but before we begin, first make sure you have these three things,
- WPfomify Plugin installed and activated.
- Give plugin installed and activated.
How Integrating WPfomify with GiveWP will help me?
WPfomify Give AddOn integration will automatically show all the donations happening on the website to the visitors. This helps in building trust and also gives the visitors a push to donate as well.
Now, since we all are set, let’s understand how to integrate Give with WPfomify.
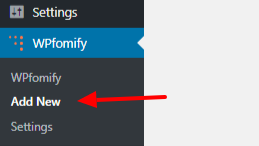
Step 1: Click the Add new option under WPfomify menu in WP admin. Give a proper name to it.
Step 2: In the Source tab, select the type Recent Conversions and change the source to Give. Click on the Next button.
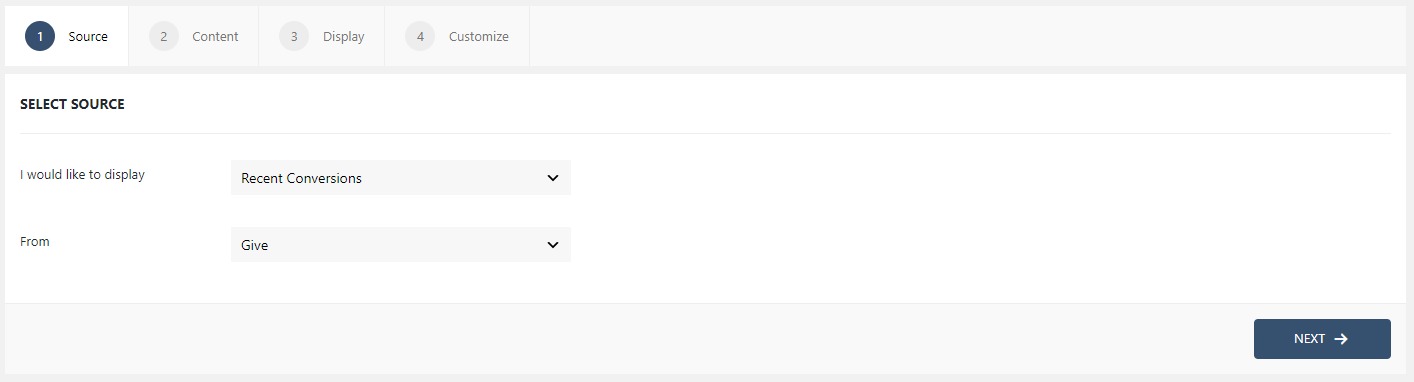
If you cannot find the “Give” option in the list, check again that you have all the above-listed plugins downloaded and installed correctly.
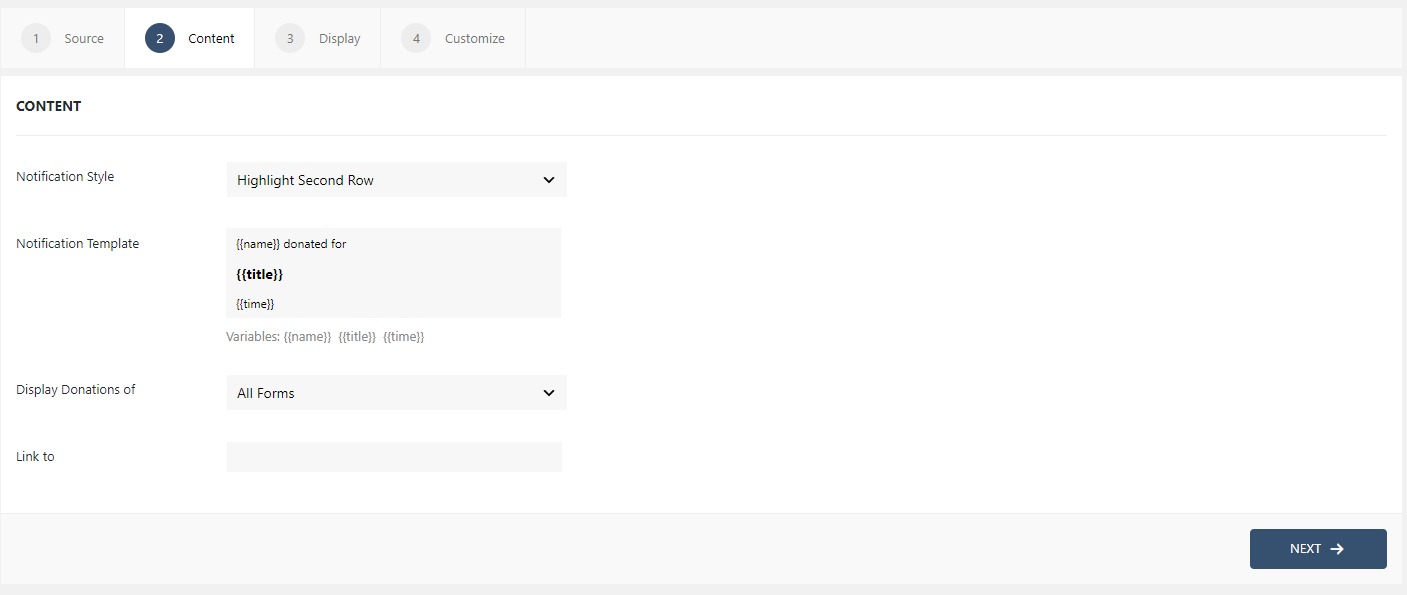
Step 3: In the Content tab, you can make the necessary changes to the content of the notification box. You can opt to show all the form of GiveWP or inform the users just when a particular donation form is filled. If you need more details about the Content Tab, you can refer to our detailed guide- Click here.
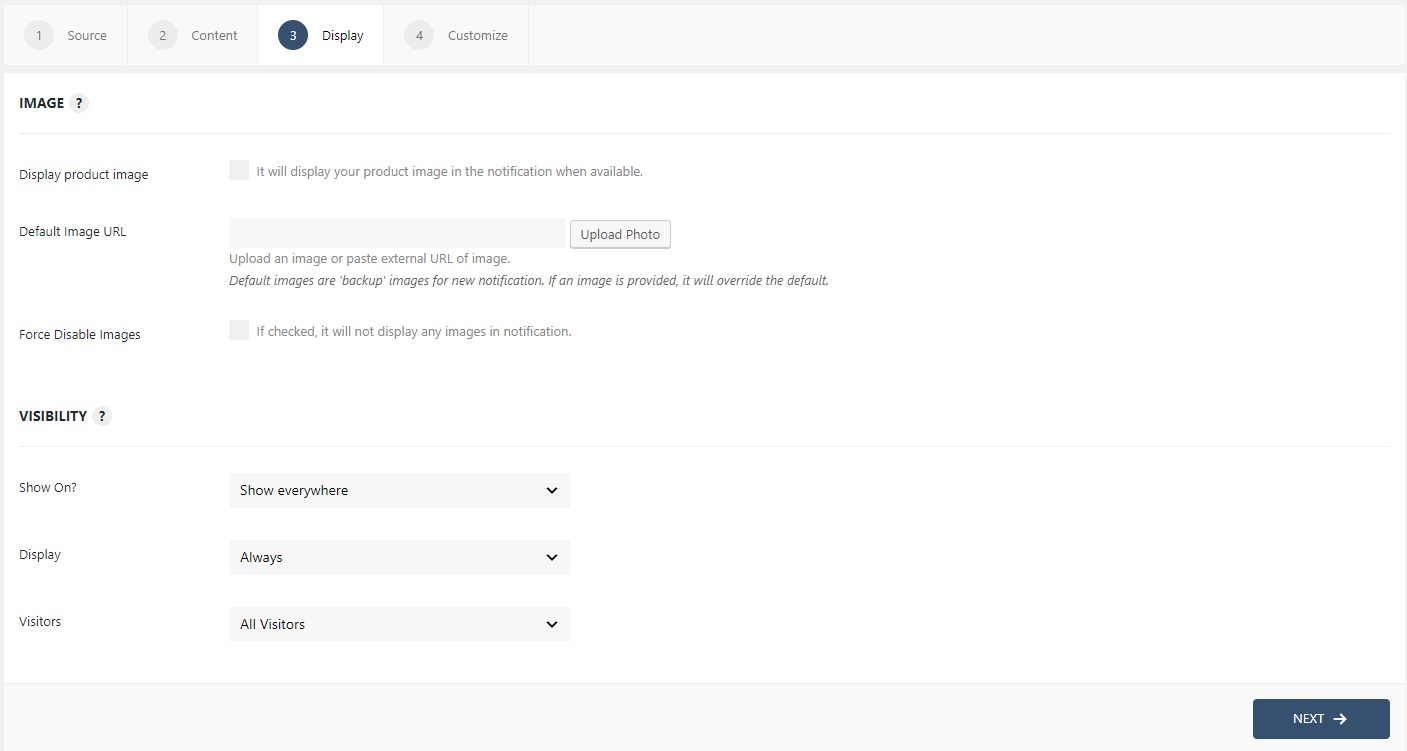
Step 4: The display tab allows you to make changes how, where, when and to whom your notifications will be displayed. The options are quite easy to understand but if you want to know more about it, have a look at this article.
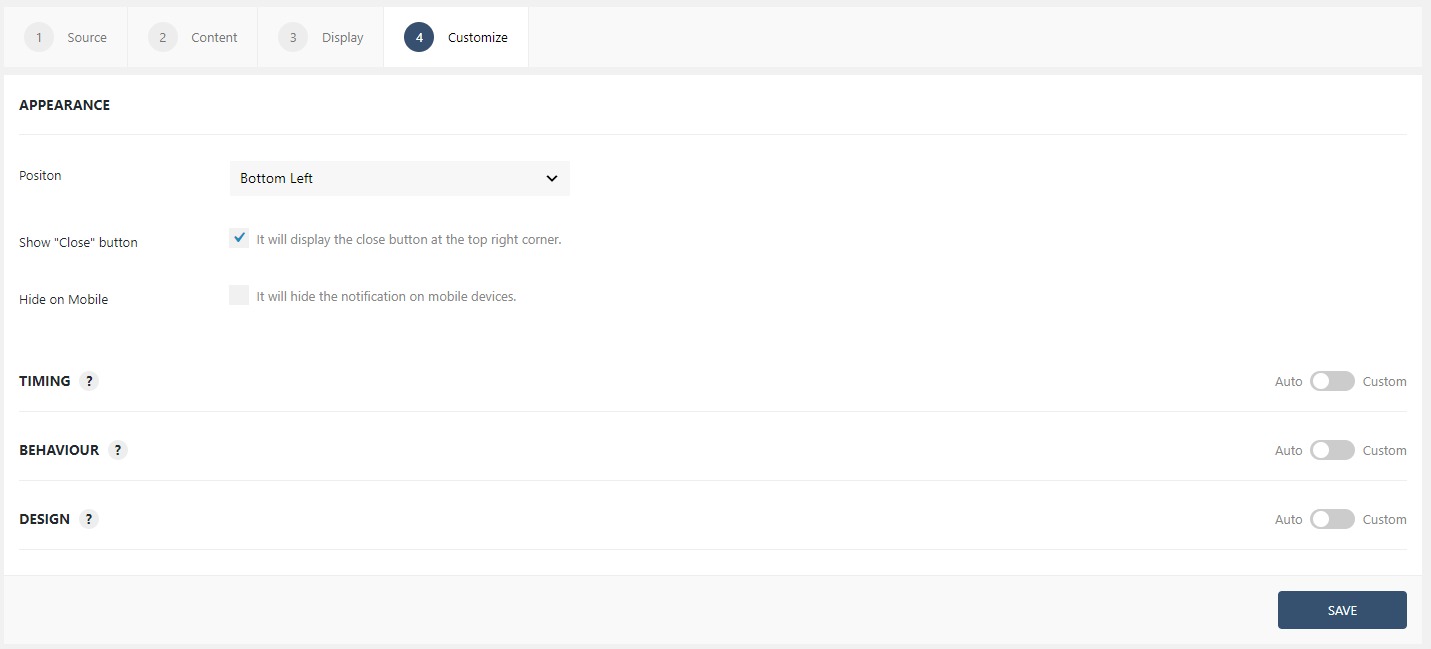
Step 5: You can move onto the Customize tab. Here you can change the appearance, timing, and design of your notification box.
Read more about the Customize tab, here.
Once you are done, click on the Publish button to make the notifications live.