WPfomify Documentation
How to add an Email Optin using Floating Button?
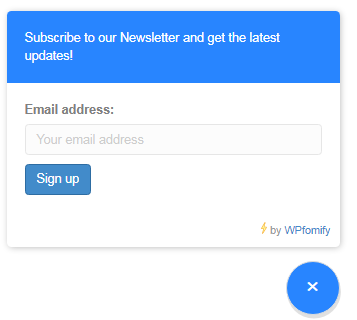
The floating button is a very good location for adding an Option Form. As it is always present on the screen it increase the conversion rate for the user.
Let’s see how we can add an Email opt-in form using a floating button.
How to add an Email Optin Form using Floating Button
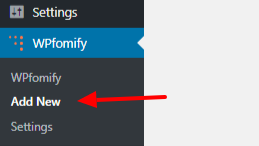
Step 1: Click the Add new option under WPfomify menu in WP admin and give it a name/title.
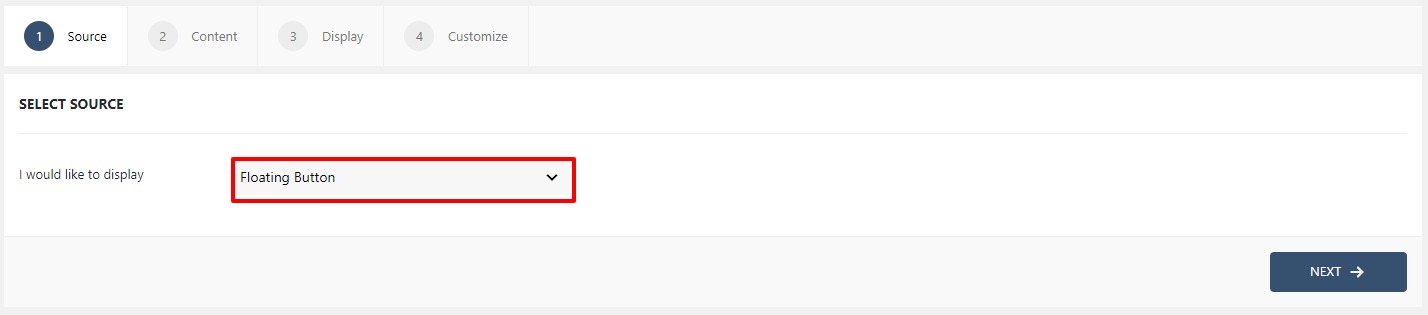
Step 2: Select the display as Floating button from the list and then click on the next button.
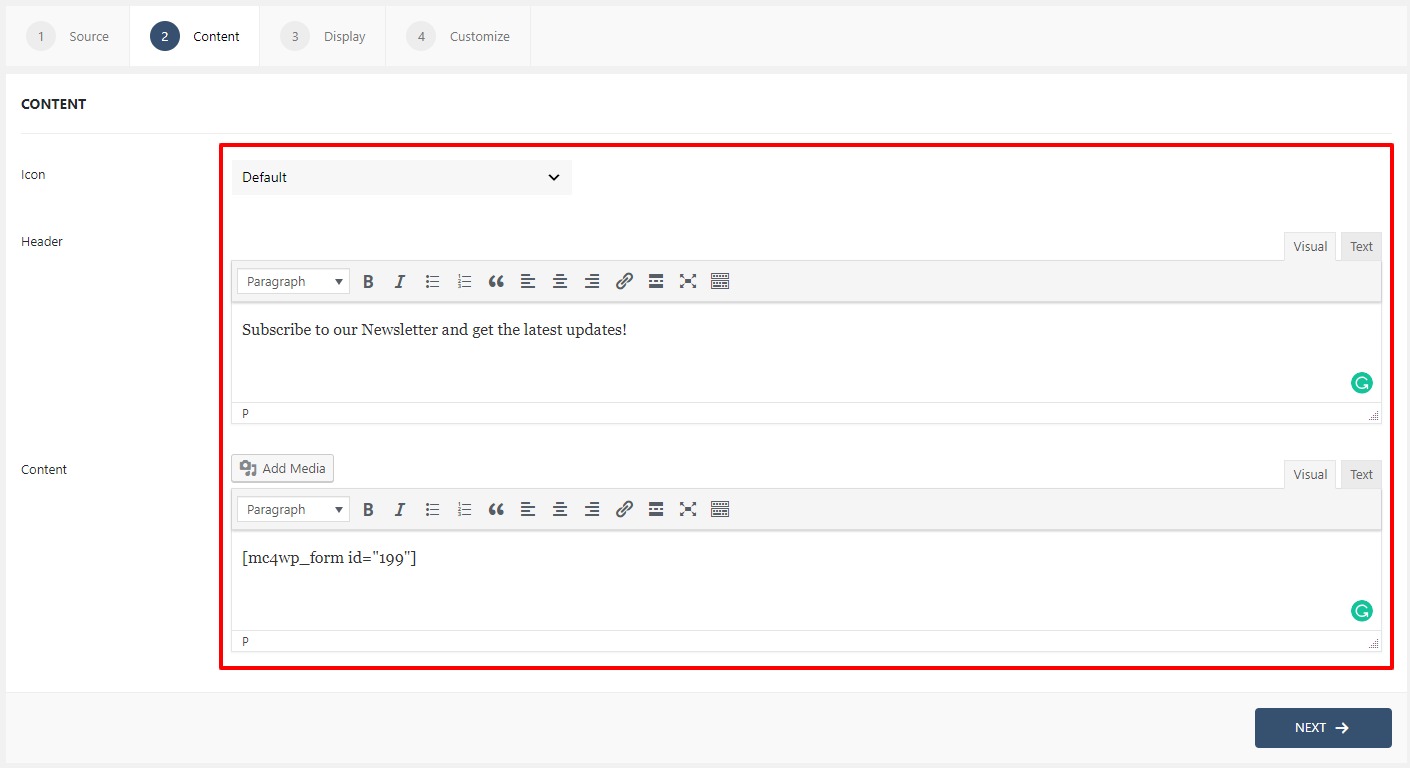
Step 3: Now, from the content tab, select the icon from the drop-down list. Next, add the heading in the Header.
Now for the Opt-in, just add your Email marketing service Custom shortcode for that particular form in your Content Box WYSIWYG editor and that is it.
Here I am using the MailChimp Shortcode as I use the MailChimp for WP plugin. So, I added the shortcode to the Content Box and the shortcode will take care of the rest.
Once you are done, click on the next button.
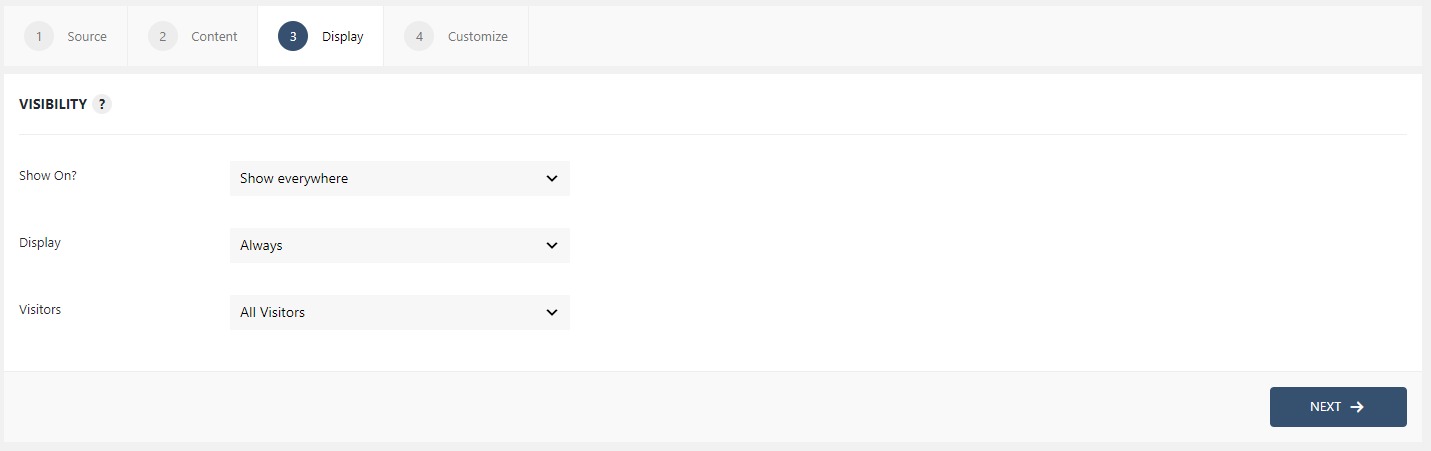
Step 4: Now we need to tell the Floating button where & to whom it will show up. The Display tab lets you alter the same. If you have doubts, learn how to use the Display tab.
Step 5: Now, we need to define the position and the design of the notification bar. This can be done with the Customize tab. If you have doubts, learn how to use the Customize tab.

Once you are done, click on the Publish button to make the Floating button live and this is what the button would look like.