WPfomify Documentation
How to leverage Notification Bar in WPfomify?
Notification Bar is one of the multiple types of customer interaction opportunity that WPfomify offers. We devised the Notification Bar to give you a tool to create a custom call-to-action but not a conventional one.
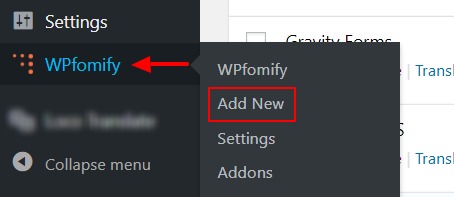
Step 1: To begin, Click the “Add new” option under WPfomify menu in WP admin and give it a name/title. Doing this will create a new Activity.
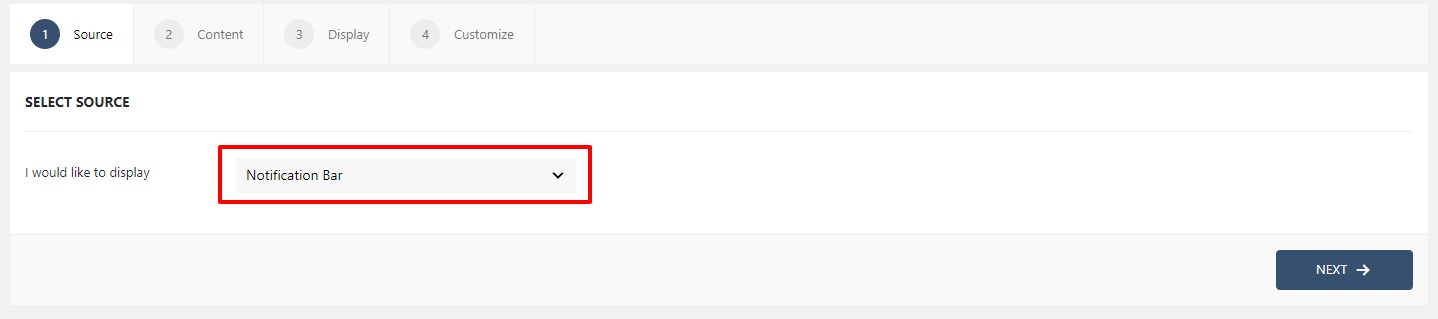
Step 2: Select the Display to Notification bar from the drop down and click on the Next button.
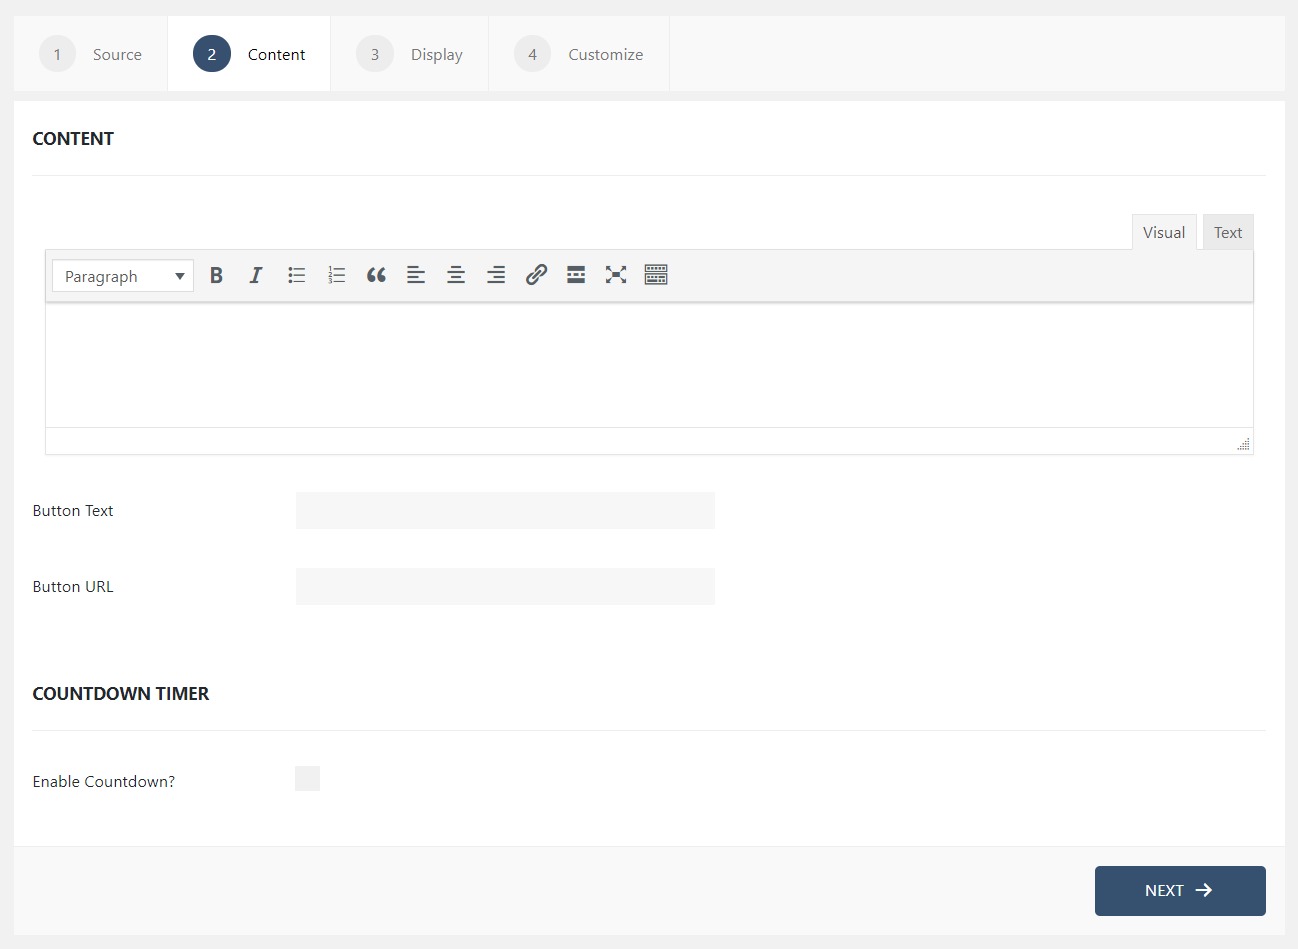
Step 3 – Switch to the Content tab. There you’ll see various options to configure your Notification Bar. In the Content, you can put the content that you want the user to see once he lands on the website.
If you need more details about the Content Tab, you can refer to our detailed guide- Click here.
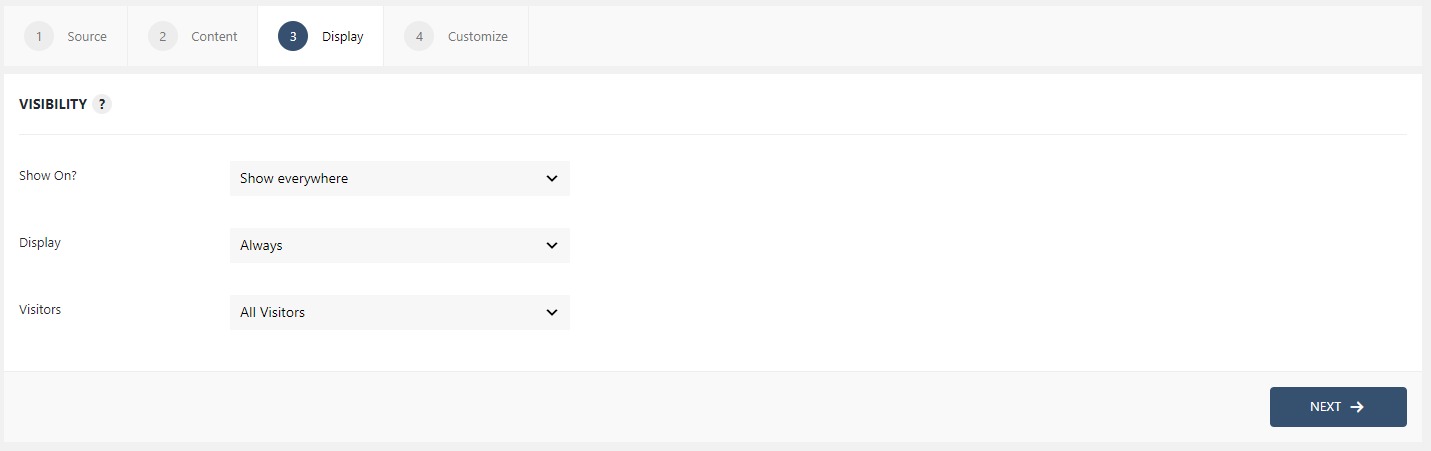
Step 4: Switch to the Display tab. From the Display tab, you can control the Appearance, frequency of your Notification Bar.
Click here to read the detailed explanation of the features of the Display tab.
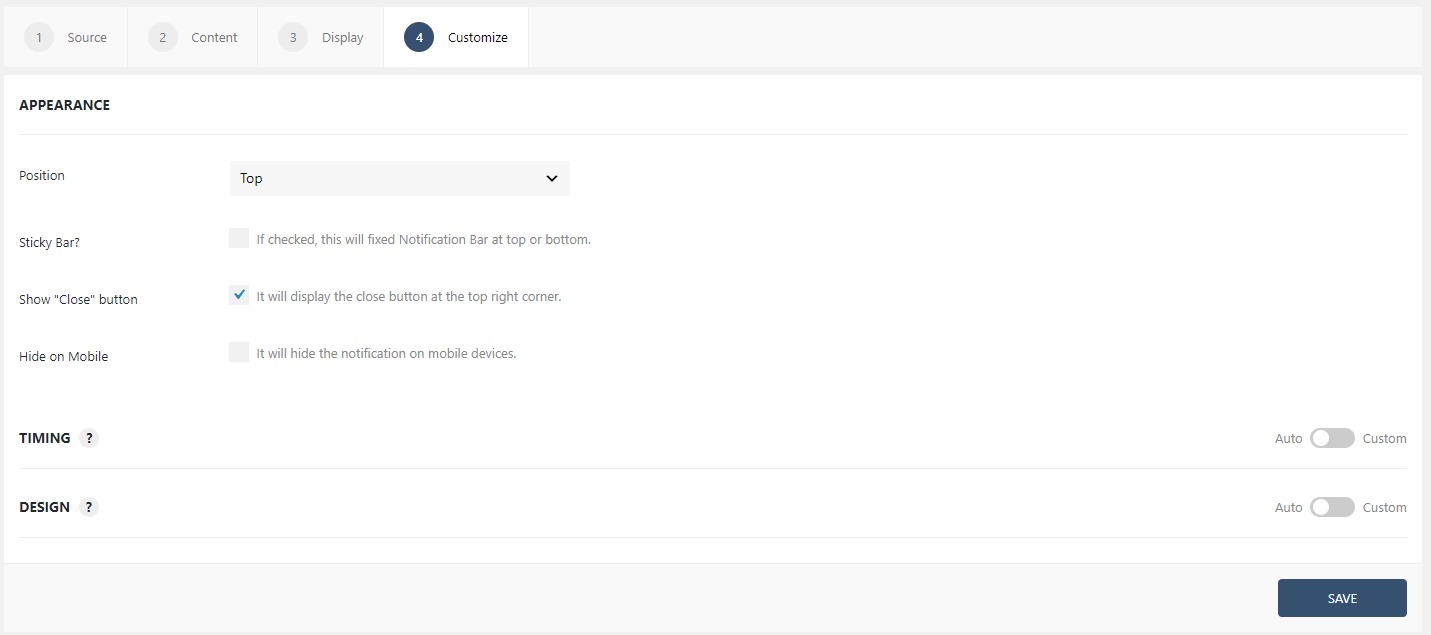
Step 5: You can move onto the Customize tab. Here you can change the appearance, timing, and design of your notification bar.
Read more about the Customize tab, here.