Setting Up Your First Conversion with WPfomify
Make sure that you have activated the license key on your site to receive updates and support. Before you create your first campaign, install the add-on for integration that you are going to use.
Setting up the Conversion
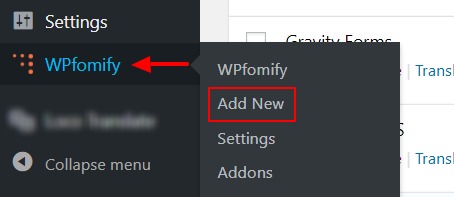
Go to WP admin > WPfomify > Add New.
Give a name to your fomie
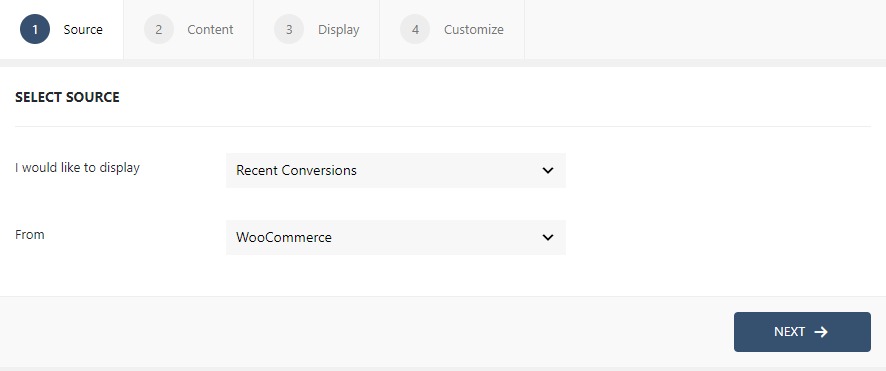
Since we are settings up WooCommerce notifications here, we will go with Recent Conversions and from as “WooCommerce”.
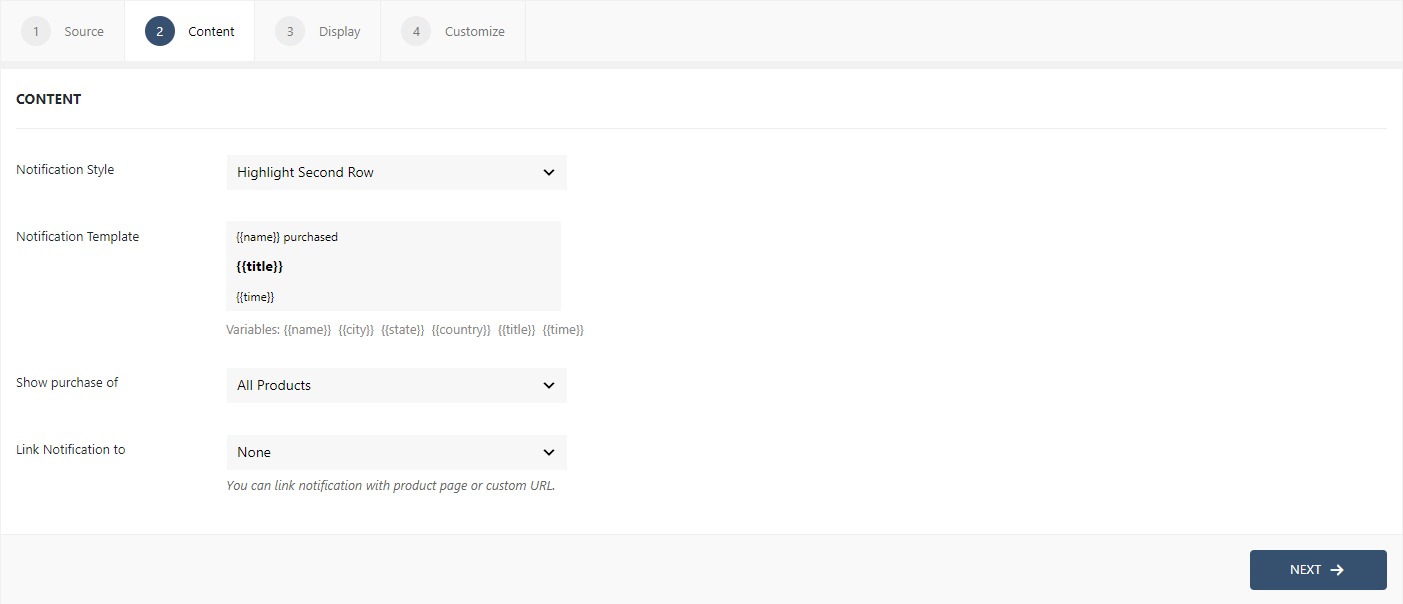
Set up the Notification Template to display the content you want to show in the notification.
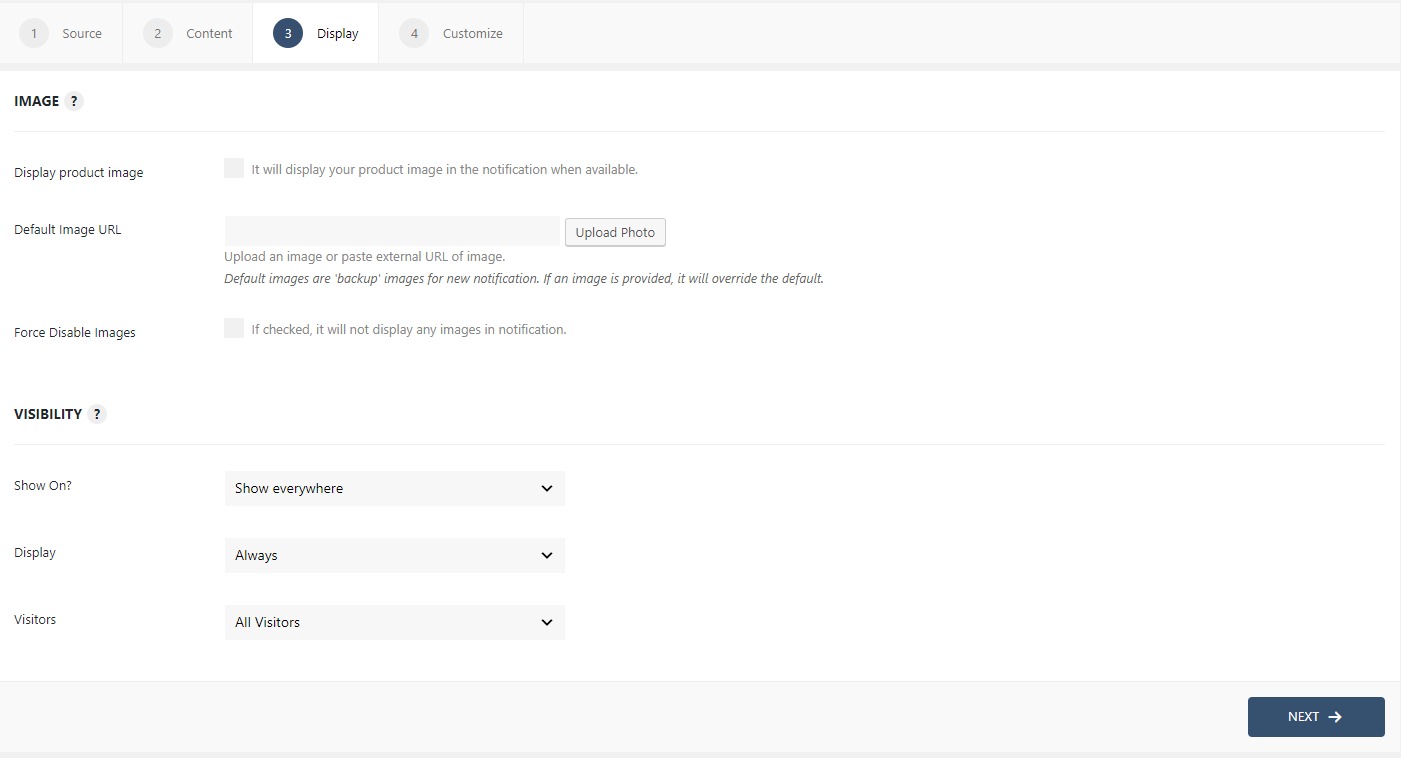
Now you will be on the Display tab. This tab tells the notifications where, how, to whom it should appear.
Now you can move on to the Customize tab. Here you can change how your Notifications look and other settings.

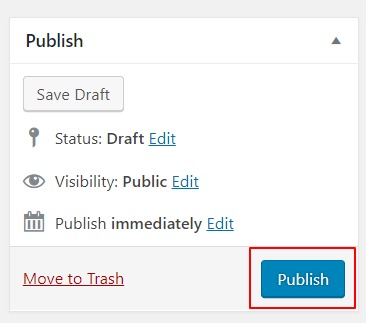
Once you have done all the changes and looked at the settings one more time, it is now time to make the notifications live. To do it, just click on the Publish button on the right side of the window.
Congratulations! You have successfully made your first notifications live!
You can go to any page of the website and check the same.
There are many options which you can play with and try different combinations of timing, frequency, etc. Apart from that, if you are using any plugin for lead generation, you can simply fetch that data and display them directly instead of creating instances (user data) using Integrations.
With this tutorial, I am sure you would be able to set up your notification box, and if you have any doubts, you can refer to the documentation or simply leave a comment down below, and we will get back to you ASAP!
If you do not have WPfomify, get it here and if you find this article useful, do share it!