How to leverage Conversions with Custom source?
If you don’t use EDD, WooCommerce, ActiveCampaign or MailChimp integration but still want to show notifications to create trust among your website user, then you can still do that.
Or maybe, you have already set one integration based activity, and you want to add one more event mix to it, but on a manual basis, then Custom conversion option in WPfomify is your friend.
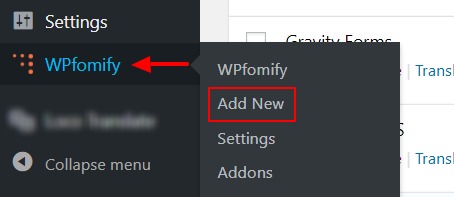
Step 1: Click on the Add new option under WPfomify menu in WP admin. Give it a name/title.
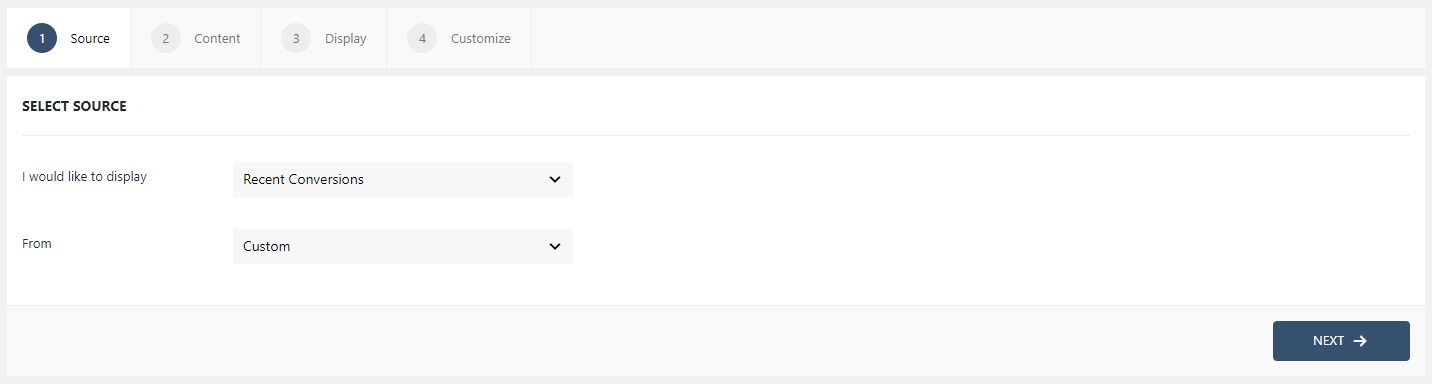
Step 2: From the Source tab, select the type Recent Conversions and change the source to Custom. Click on the Next button.
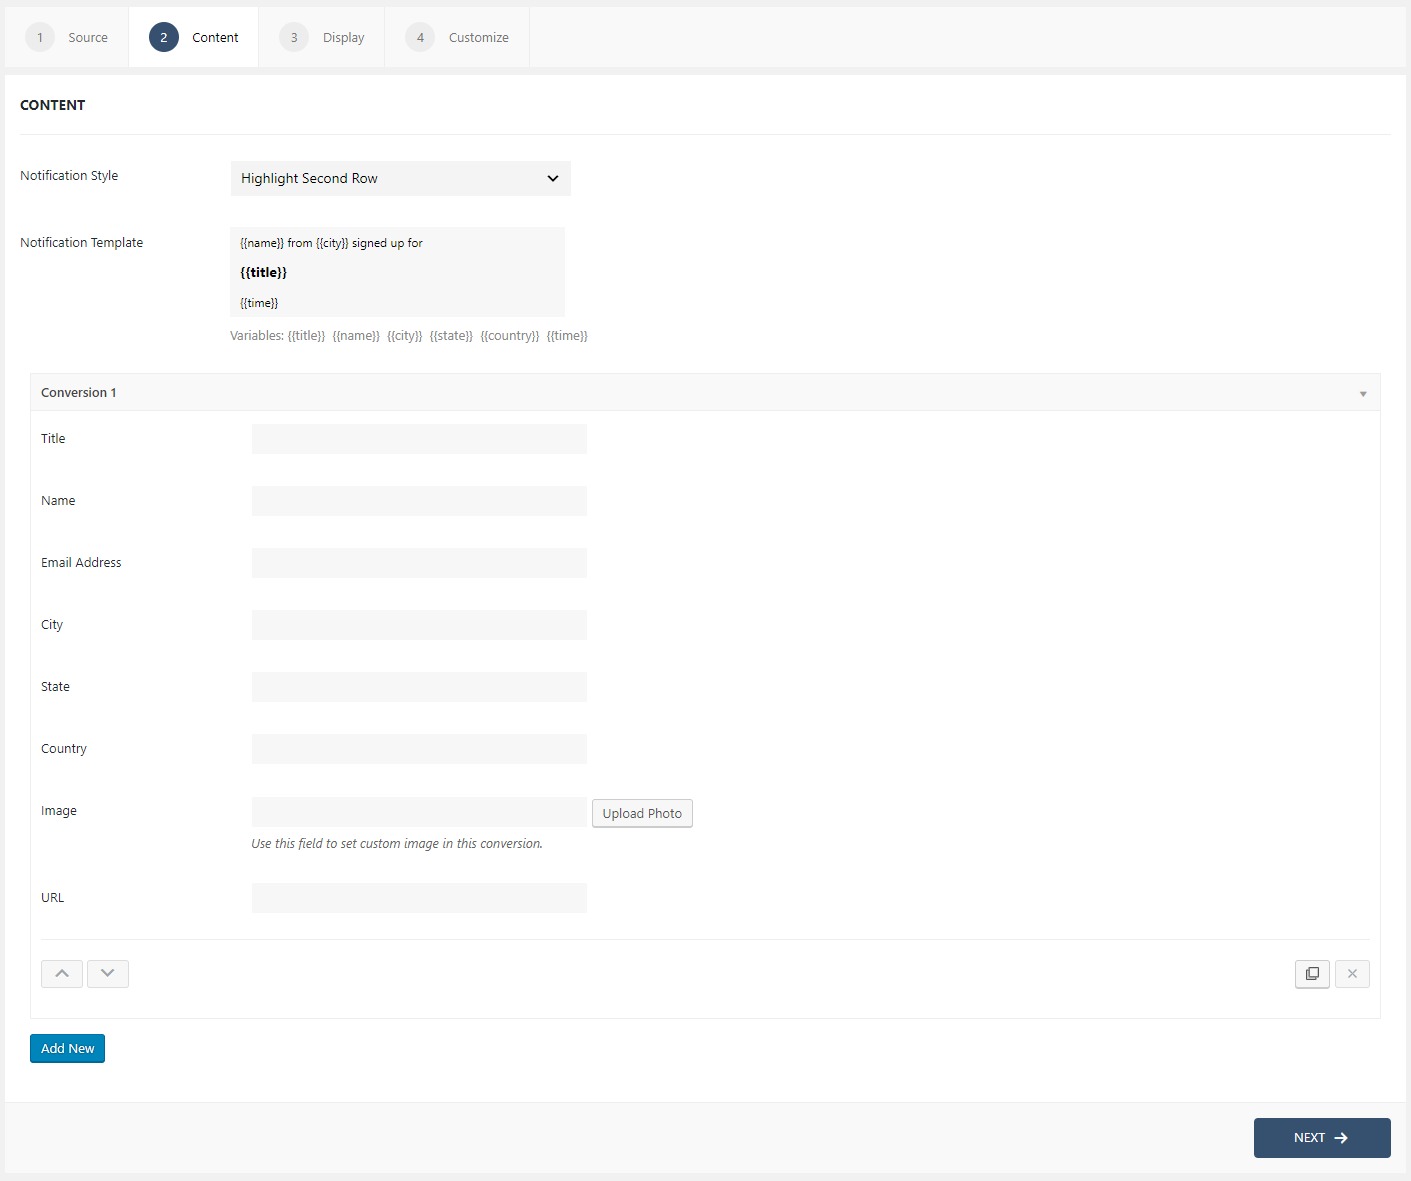
Step 3: In the Content tab, you can redesign your notification template and can add the templates as well.
For example, if you want to display John Doe from Texas just registered for our newsletter! you’ll type {{name}} from {{state}} just registered for our newsletter! in the notification template box.
Next, you need to add the conversions that will be displayed on the Notification template. You can simply enter the values there and when you want to add another conversion click on Add new button at the lower-left corner.
If you need more details about the Content Tab, you can refer to our detailed guide- Click here.
Step 4: The Display tab allows you to make changes how, where, when and to whom your notifications will be displayed. The options are quite easy to understand but if you want to know more about it, have a look at this article.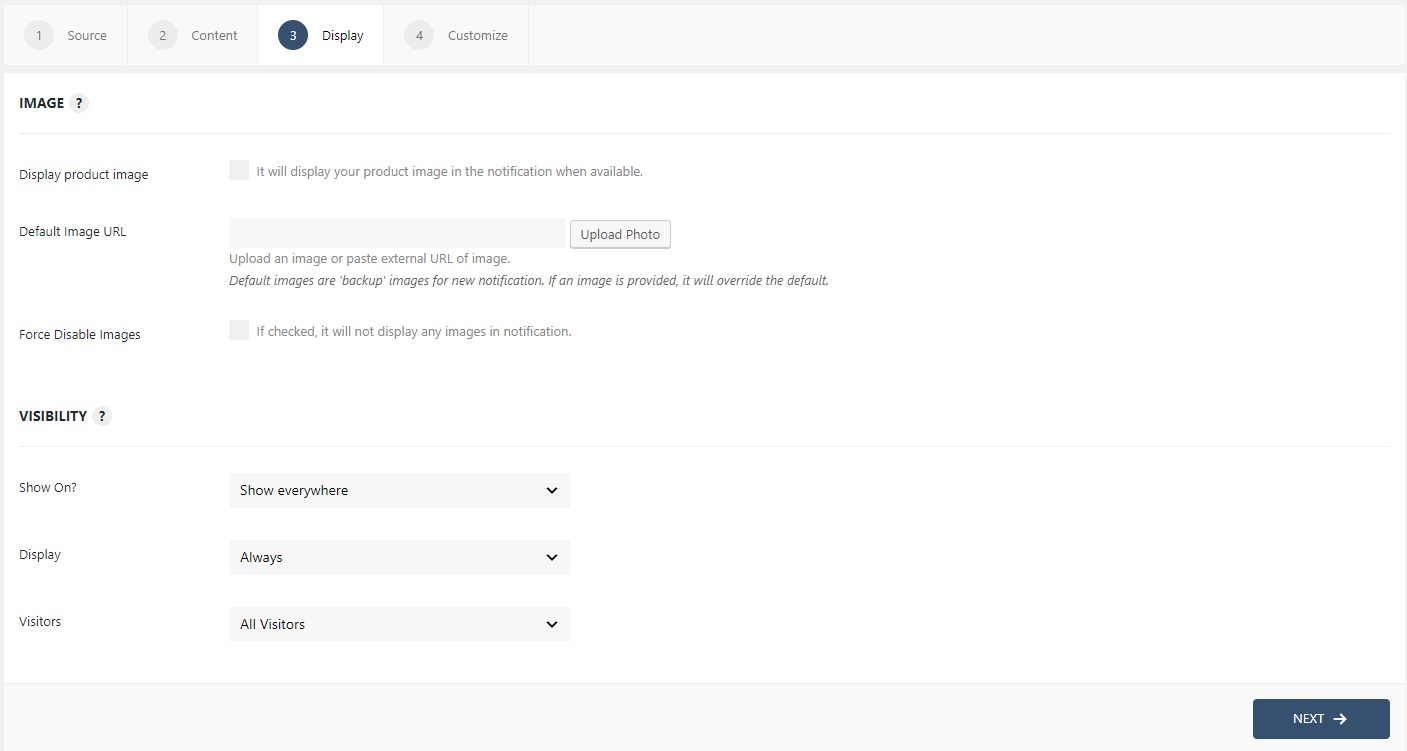
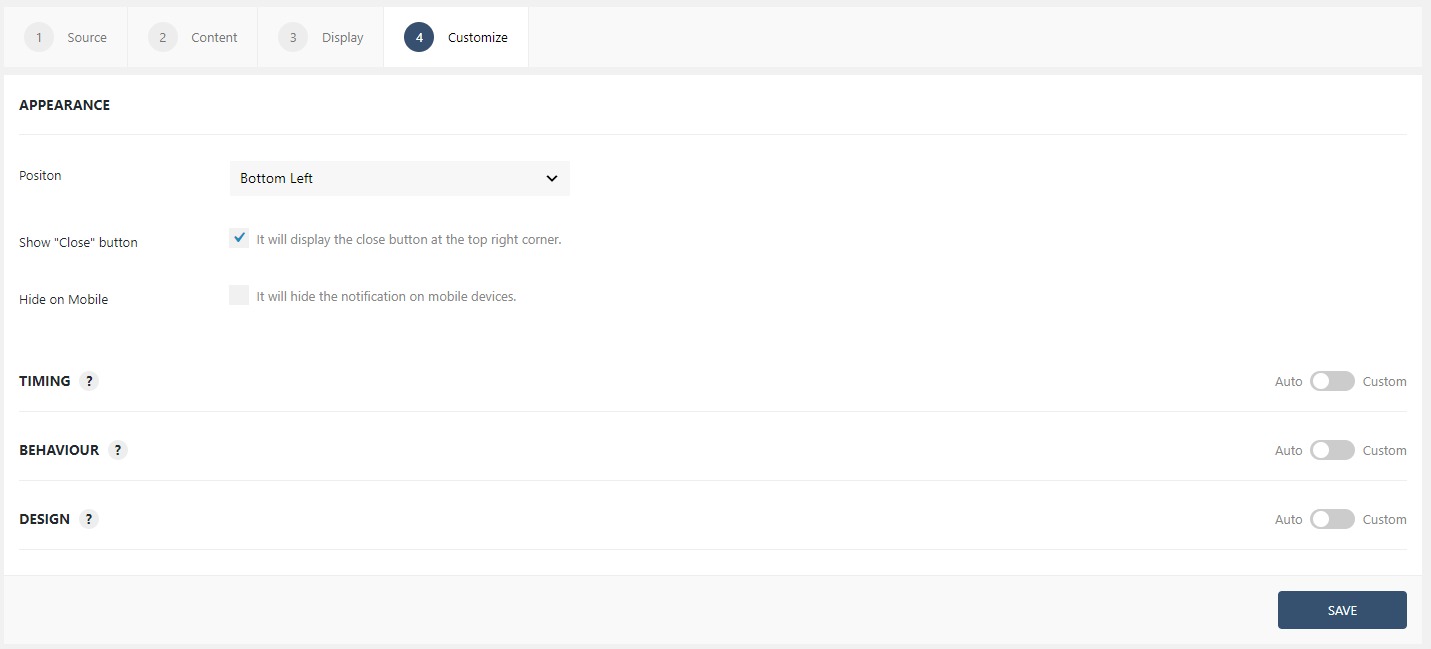
Step 5: You can move onto the Customize tab. Here you can change the appearance, timing, and design of your notification bar.
Read more about the Customize tab, here.
Once you are done, click on the Publish button to make the notifications live.