How to Add Conversions from a CSV File?
CSV or Comma Separated Values file is commonly used to store and distribute various kinds of data. WPfomify since version 2.0.1 supports adding the conversions using a CSV file.
Step 1: Go to WPfomify > Add New and create a new notification. Select the Notification Type as Recent Conversion and set the “From” or the source as Import CSV. Click on the Next button.
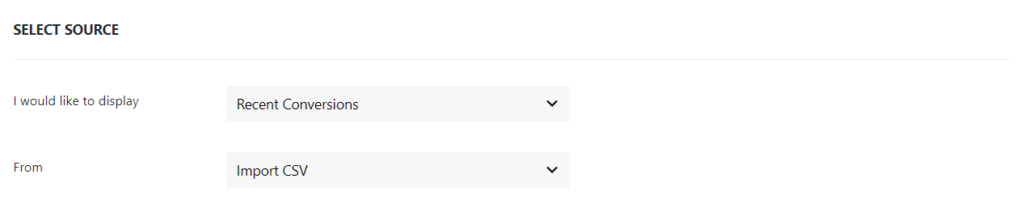
Step 2: Once you select the Import CSV option the setting section will appear.
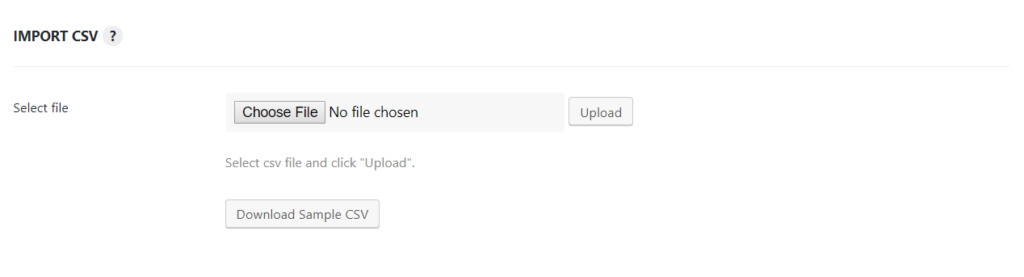
Choose the CSV file from File Explorer/Finder or download the sample CSV file and then add the data to it and click Upload.
Please note that CSV file should have first row as header.
Step 3: Once the CSV file is uploaded successfully it is time to map the fields. Mapping is a simple process of telling WPfomify which column in the sheet belongs to which field. Mapping relies on the Headers of the sheet for ease of use.
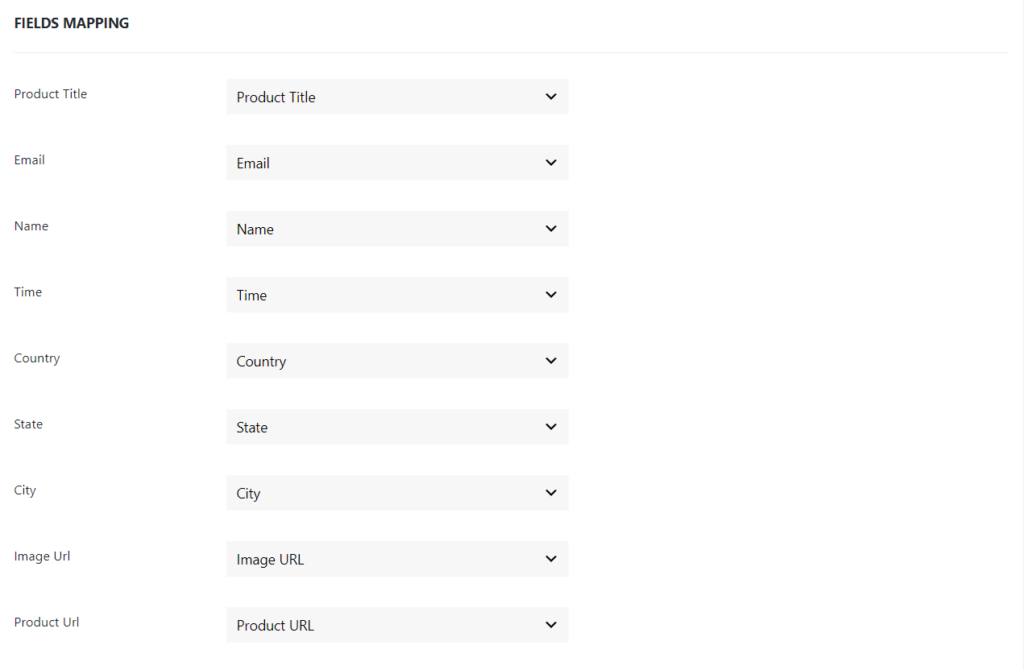
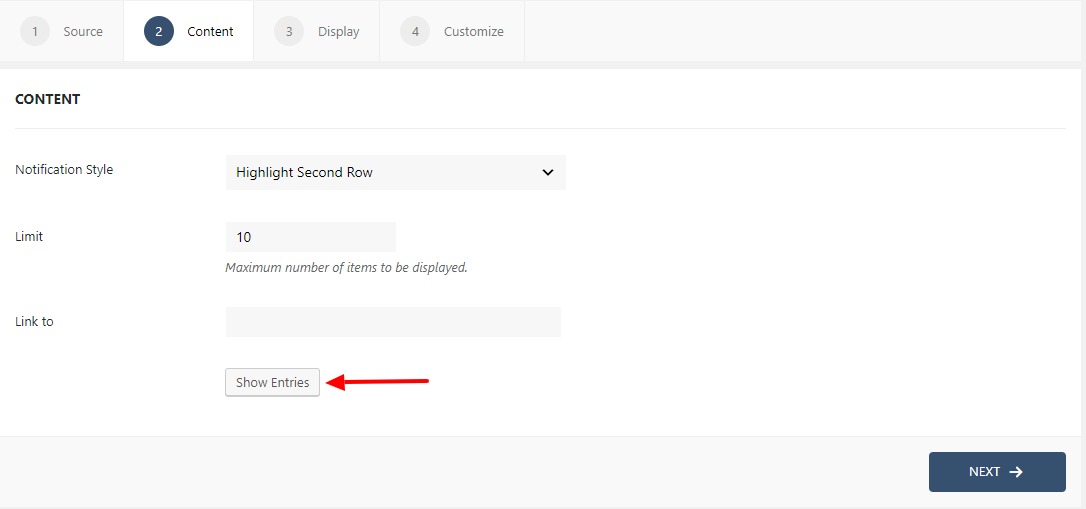
Once the fields are mapped it is time to set up the Content Tab.
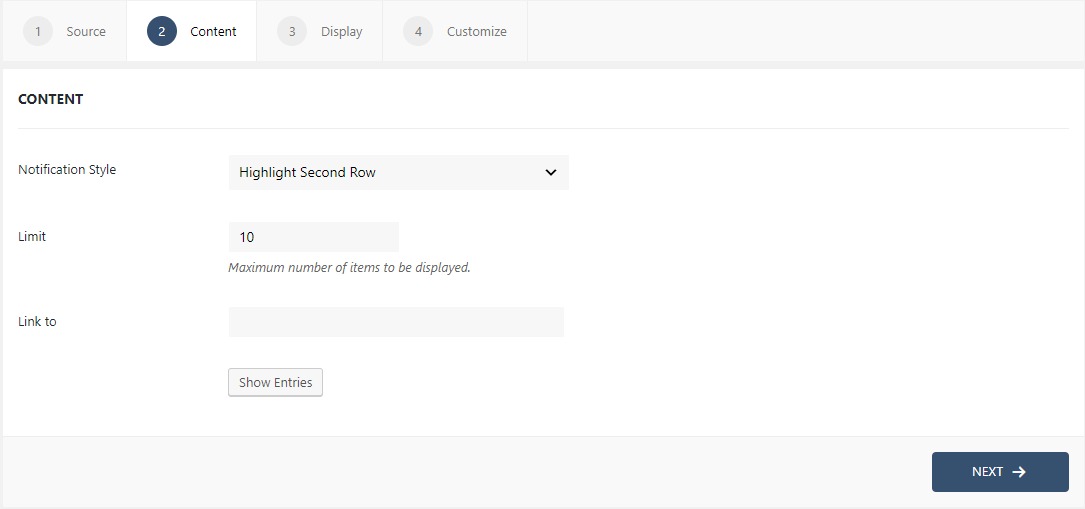
Step 4: In the Content tab, you can make the necessary changes to the content of the Import CSV. You can link your notifications as well. If you want to see and alter your entries, you can easily do that from the Show Entries button. If you need more details about the Content Tab, you can refer to our detailed guide- Click here.
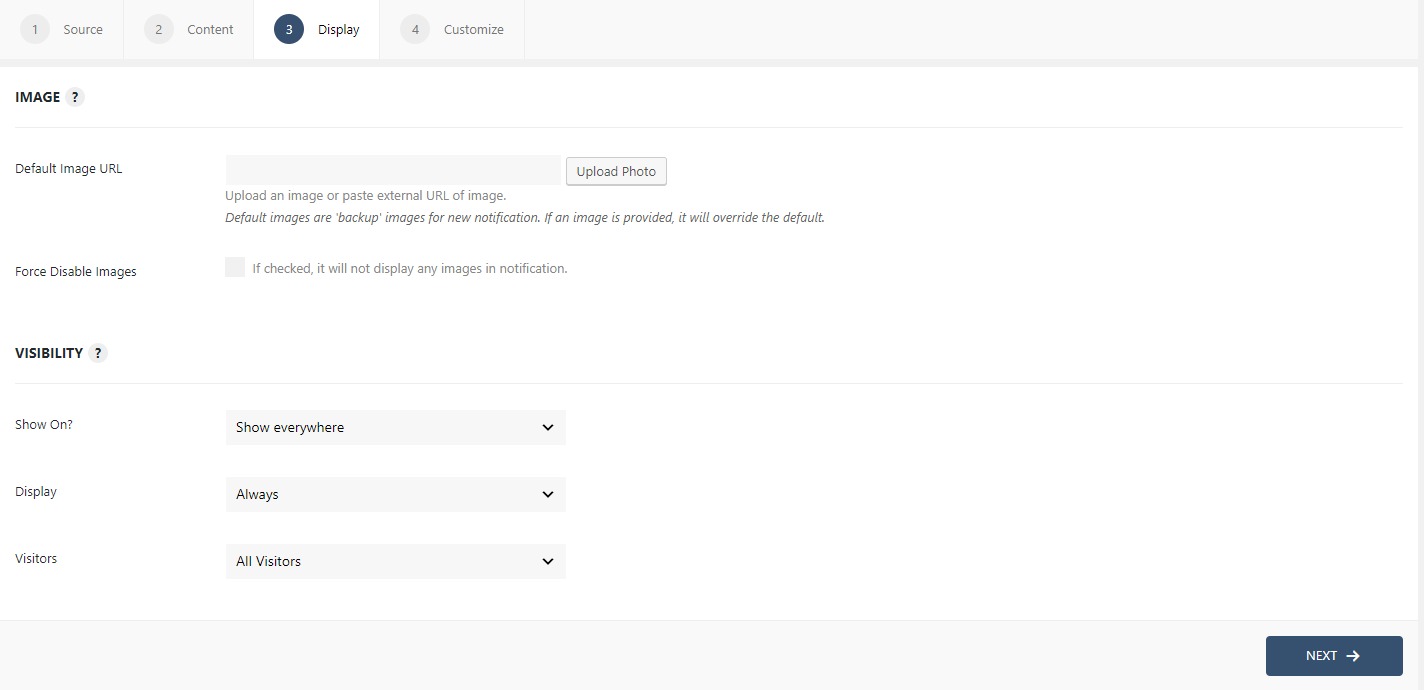
Step 5: The display tab allows you to make changes how, where, when and to whom your notifications will be displayed. The options are quite easy to understand but if you want to know more about it, have a look at this article.
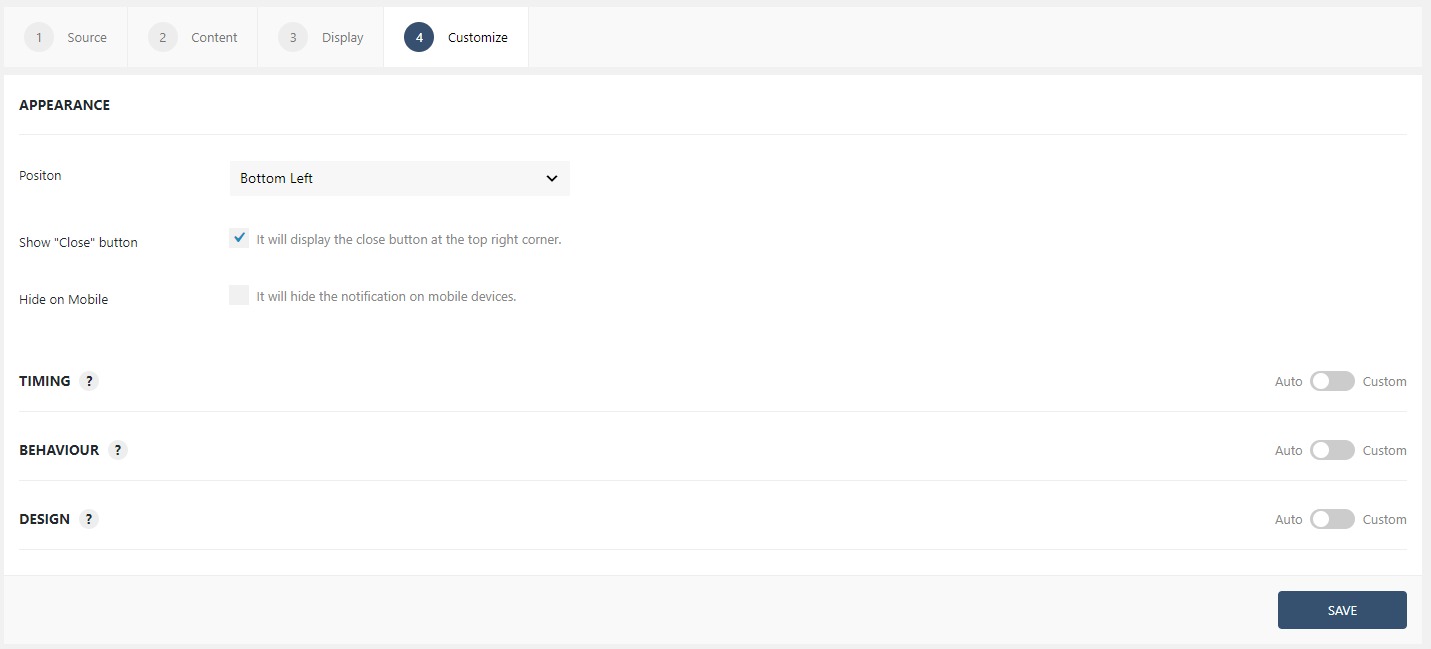
Step 6: You can move onto the Customize tab. Here you can change the appearance, timing, and design of your notification box.
Read more about the Customize tab, here.
Once you are done, click on the Publish button to make the notifications live.
Managing your Entries
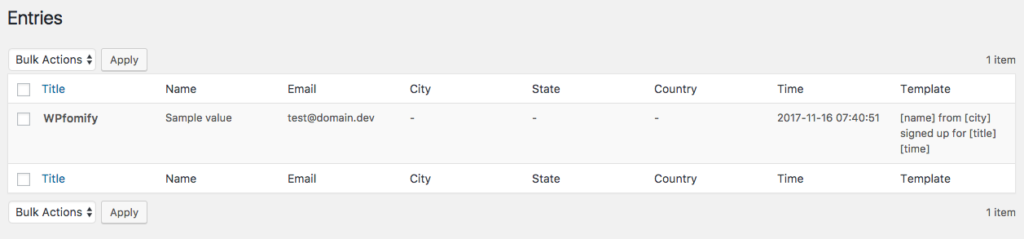
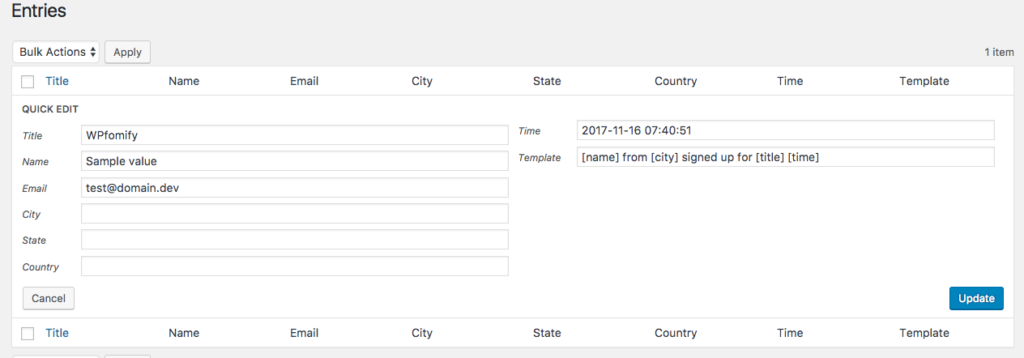
Each entry gets saved to the WPfomify notification on your website. So, you can easily update/delete these entries from WP admin. To do this, go to WP admin > WPfomify > Edit the Zapier Notification and click the Show Entries button under the Content Tab.
This will take you to a new page which lists all the entries. You can click the Quick Edit link to update the data for the entry Delete it.
If you have any questions or need help, please feel free to contact us.