How to Customize the Notification Template?
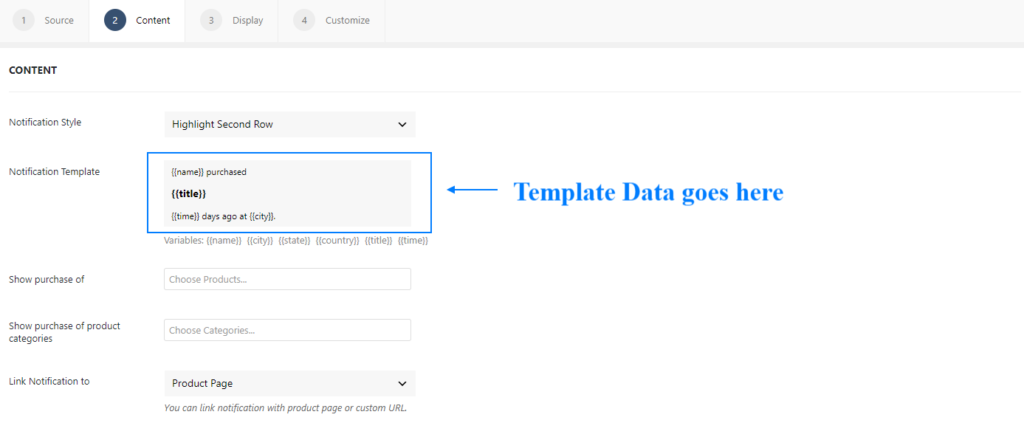
Notification Template consists of a text field which is divided into 3 rows and is very easy to edit. In this example, we will create a Notification Template for the sale of a bicycle following this skeleton.
1st Line: (Buyer Name) purchased
2nd Line: (Bicycle Name)
3rd Line: (Days Ago) in (City)
Adding Content to the Notification Template
Step 1: Go the notification template area in the fomie’s settings.
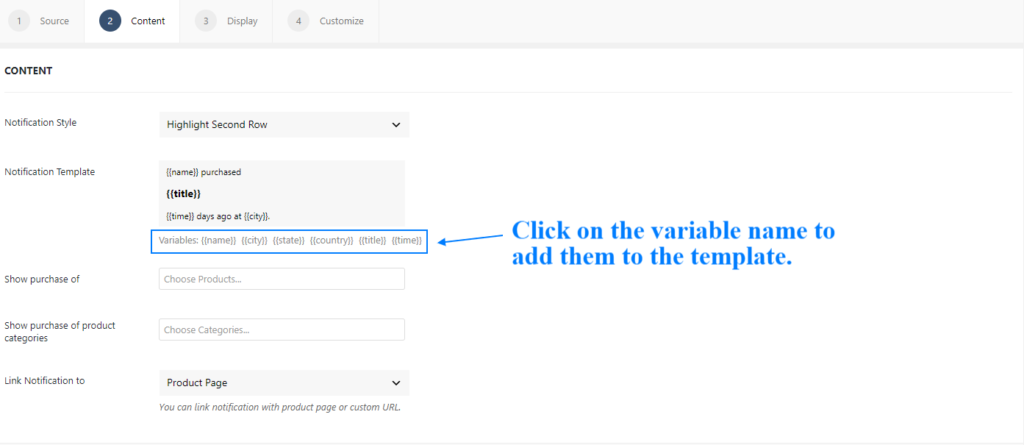
Step 2: Create the template using custom text and variables available below the template area.
Step 3. Click update to save the template layout.
Formatting the Variables added in the Notification Template
WPfomify provides the following options to highlight and format the data added using the variables, the text added in the double curly braces.
1. Bold – It makes the variable text bold.
Use: {{title|bold}}
2. Italic – It makes the variables text italic.
Use: {{title|italic}}
3. Color – It changes the color of the variable.
Use: {{title|color:#ffffff}}
4. Bold + Color – It makes the variable text both bold and changes its color.
Use: {{title|bold+color:#ffffff}}
5. Italic + Color – It makes the variable text both italic and changes its color.
Use: {{title|italic+color:#ffffff}}
6. Propercase – It transforms the text to propercase.
Use: {{title|propercase}}
7. Uppercase – It transforms the text to uppercase.
Use: {{title|upcase}}
8. Lowercase – It transforms the text to lowercase.
Use: {{title|downcase}}
9. Fallback – It allows you to set a fallback value for the variable so that if the value it not present it will take this value.
Use: {{title|fallback:[This is the fallback title]}}