How to Display Plugin Stats from WordPress.org using WPfomify?
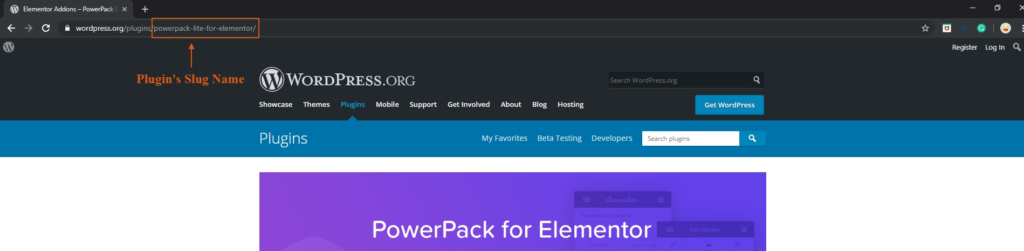
WordPress integration lets you show public plugin statistics from the WordPress.org without requiring any complex setup. The only thing you require is the WPfomify and the plugin slug ( plugin name that appears in the URL ).
Creating a WordPress Notification
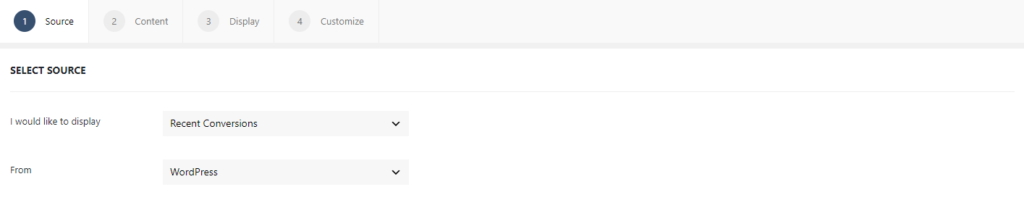
Step 1: Go to WPfomify > Add New and create a new notification. Select the Notification Type as Recent Conversion and set the “From” or the source as WordPress. Click on the Next button.
Step 2: In the Content tab, select the Repository Type as a Plugin. Then add the plugin’s slug name which can be found in the plugin’s URL.
Step 3: You can then make the necessary changes to the content of the notification box. If you need more details about the Content Tab, you can refer to our detailed guide- Click here.
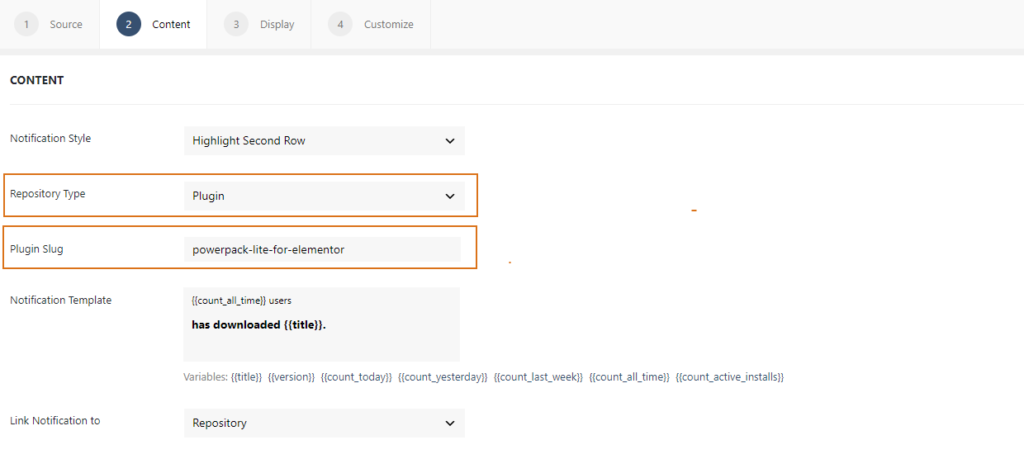
WPfomify supports the following variables in the WordPress Notification template.
- Plugin name as {{title}}
- Plugin version as {{version}}
- Plugin install count for the day as {{count_today}}
- Plugin install count for yesterday as {{count_yesterday}}
- Plugin install count for the last week as {{count_last_week}}
- Plugin install count for all time as {{count_all_time}}
- Plugin active install count as {{count_active_installs}}
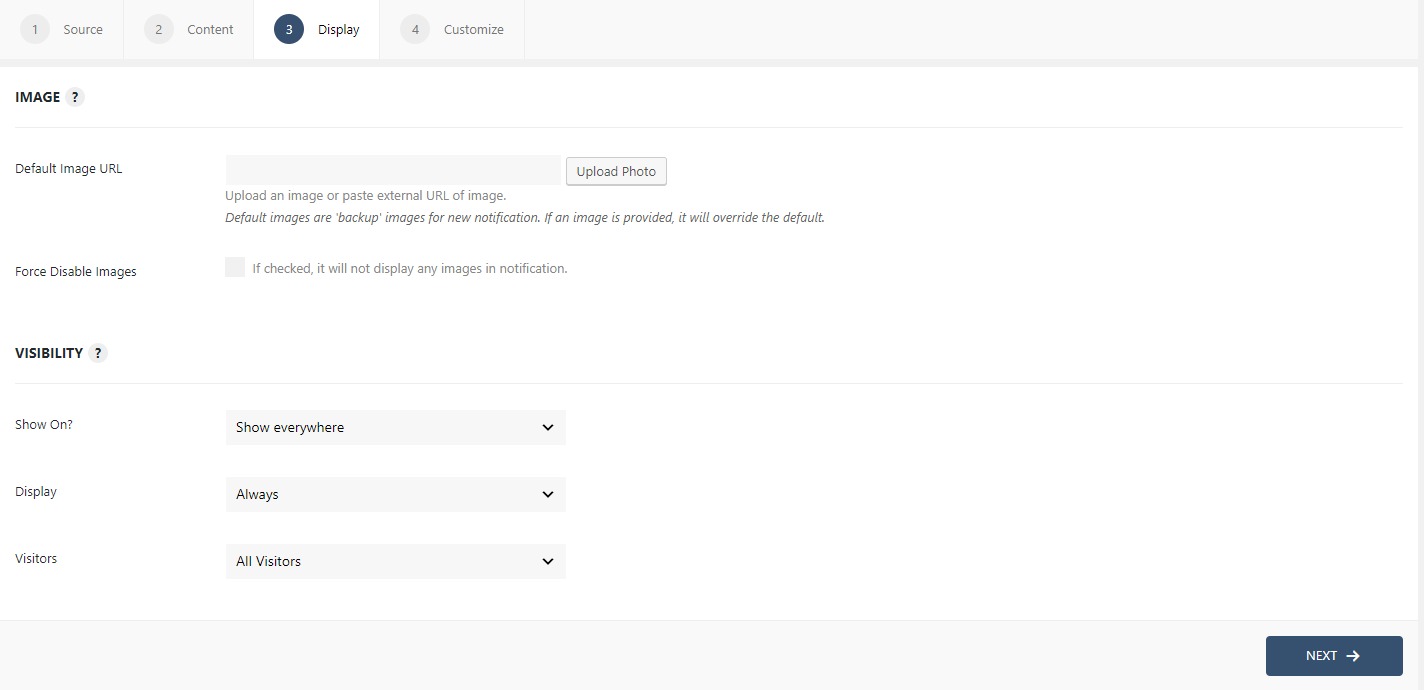
Step 3: The display tab allows you to make changes how, where, when and to whom your notifications will be displayed. The options are quite easy to understand but if you want to know more about it, have a look at this article.
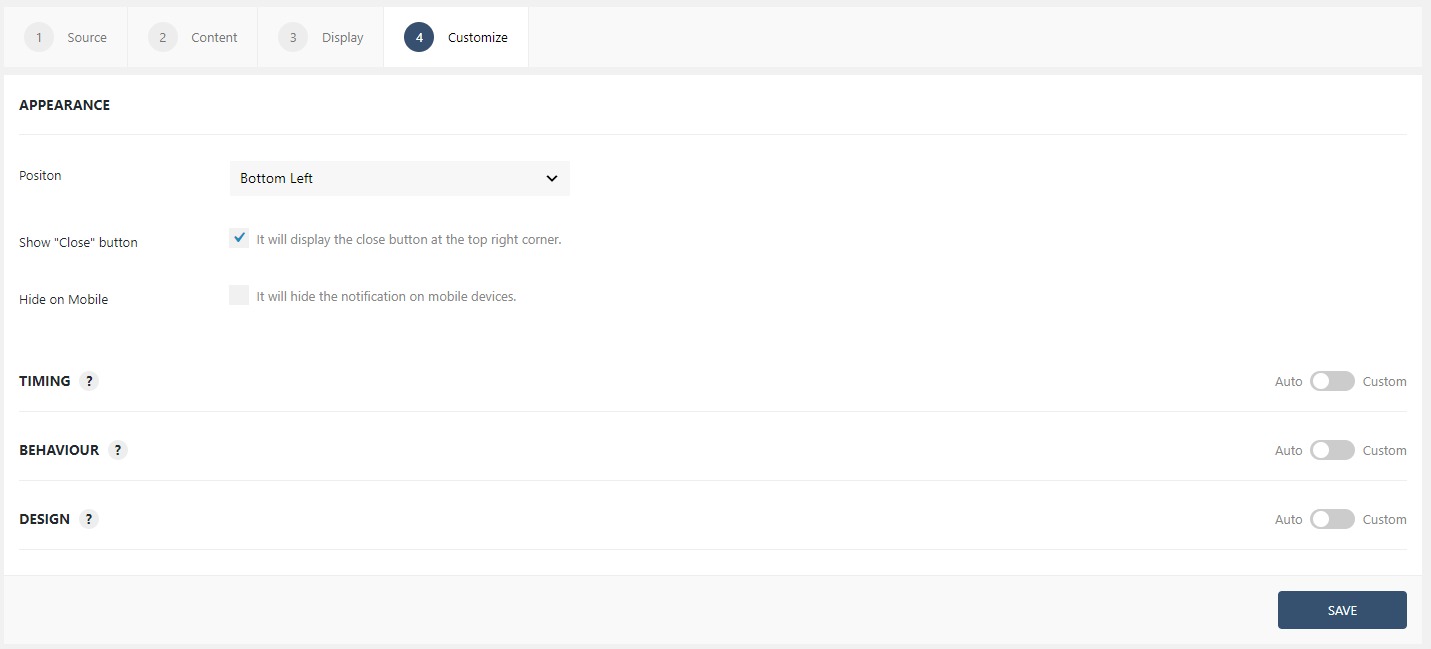
Step 5: You can move onto the Customize tab. Here you can change the appearance, timing, and design of your notification box.
Read more about the Customize tab, here.
Once you are done, click on the Publish button to make the notifications live.