How to Display Conversions from MailerLite using Custom Form URL?
WPfomify’s Custom Form URL feature can be used to display conversions for the Subscription Form connected to MalerLite service.
Custom Form URL works by fetching the form which can be used to fetch the submissions done using Subscription Form added on the page and then display all the entries made using that form on the site. Let’s see the step by step tutorial on how to do it.
Setting up MailerLite Subscribe Form
The first step is to set up a MailerLite Subscribe Form using any of the following services.
- MailerLite’s Official Plugin for WordPress – Download Here
- PowerPack Subscribe Form for Beaver Builder – Check Here
After setting up the Subscription Form it is time to setup fomie to track the conversions.
Setting up WPfomify’s Custom Form URL for MailerLite
Please note that in this example we will be using the official plugin of MailerLite.
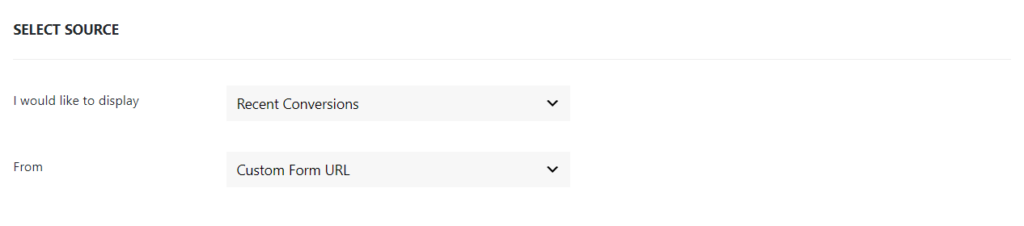
Step 1: Go to WPfomify > Add New and create a new notification. Select the Notification Type as Recent Conversion and set the “From” or the source as Custom Form URL.
Step 2: Once you select the Custom Form URL, a Custom Form URL settings section will appear.

- Page URL: Copy/Paste the URL of the page on which the subscription form is present.
- Get Forms: Click get form after adding the page URL so that the forms on that page can be fetched.
- Select Form: Select the MailerLite form whose entries you want to display from the dropdown list.
- Select Name Field: Map the name field of the form to this field.
- Select Email Field: Map the email field of the form to this field.
After doing this initial setup lets go to the next step.
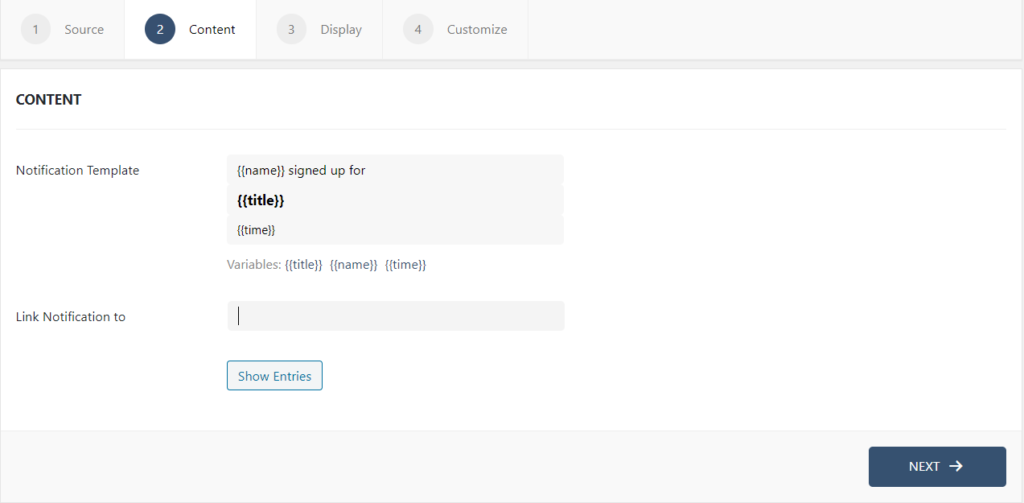
Step 2: In the Content tab, you can make the necessary changes to the content of the Custom Form URL. You can link your notifications as well. If you want to see and alter your entries, you can easily do that from the Show Entries button. If you need more details about the Content Tab, you can refer to our detailed guide- Click here.
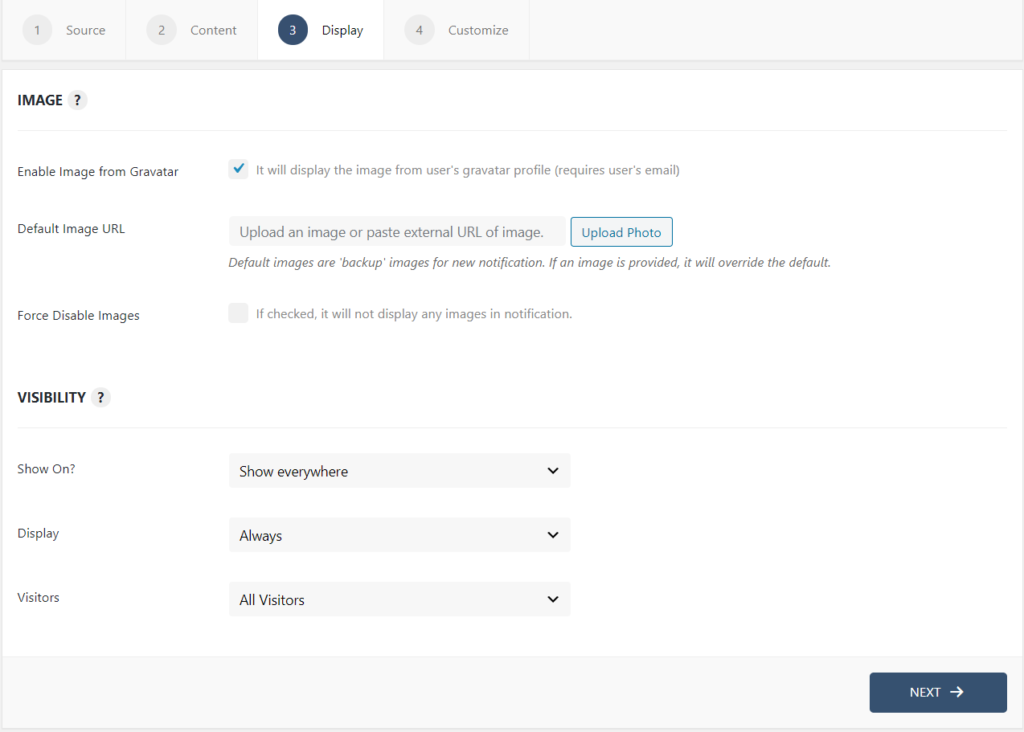
Step 3: The display tab allows you to make changes on how, where, when and to whom your notifications will be displayed. The options are quite easy to understand but if you want to know more about it, have a look at this article.
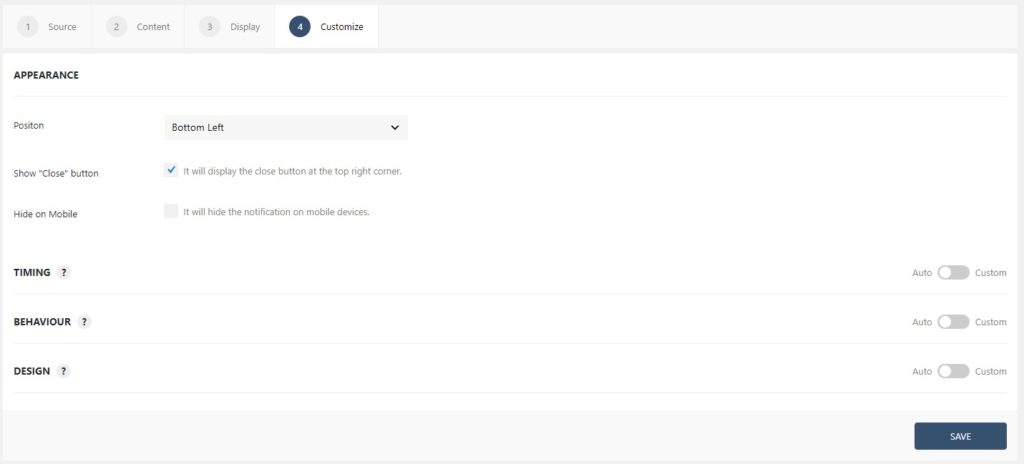
Step 5: You can move onto the Customize tab. Here you can change the appearance, timing, and design of your notification box.
Read more about the Customize tab, here.
Once you are done, click on the Publish button to make the notifications live.
Managing your Entries
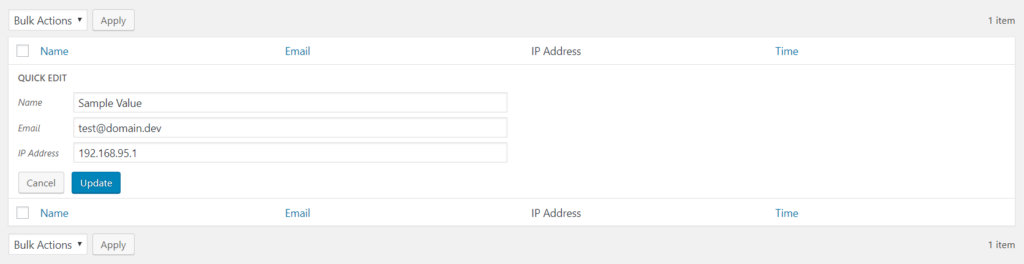
Each entry gets saved to the WPfomify notification on your website. So, you can easily update/delete these entries from WP admin. To do this, go to WP admin > WPfomify > Edit the Custom Form URL Notification and click the Show Entries button under the Content Tab.
This will take you to a new page that lists all the entries. You can click the Quick Edit link to update the data for the entry Delete it.

If you have any questions or need help, please feel free to contact us.