How to integrate Zapier addon with WPfomify?
The Zapier Addon lets you send data to WPfomify on your WordPress website from any web application and display the notifications.
Before we begin, make sure you have the Zapier add-on installed and activated. If it is not installed, you can easily install it by going to WP admin > WPfomify > Add-ons. Then click on the install button.
Once you have the addon installed, we can go ahead.
WPfomify Zapier App
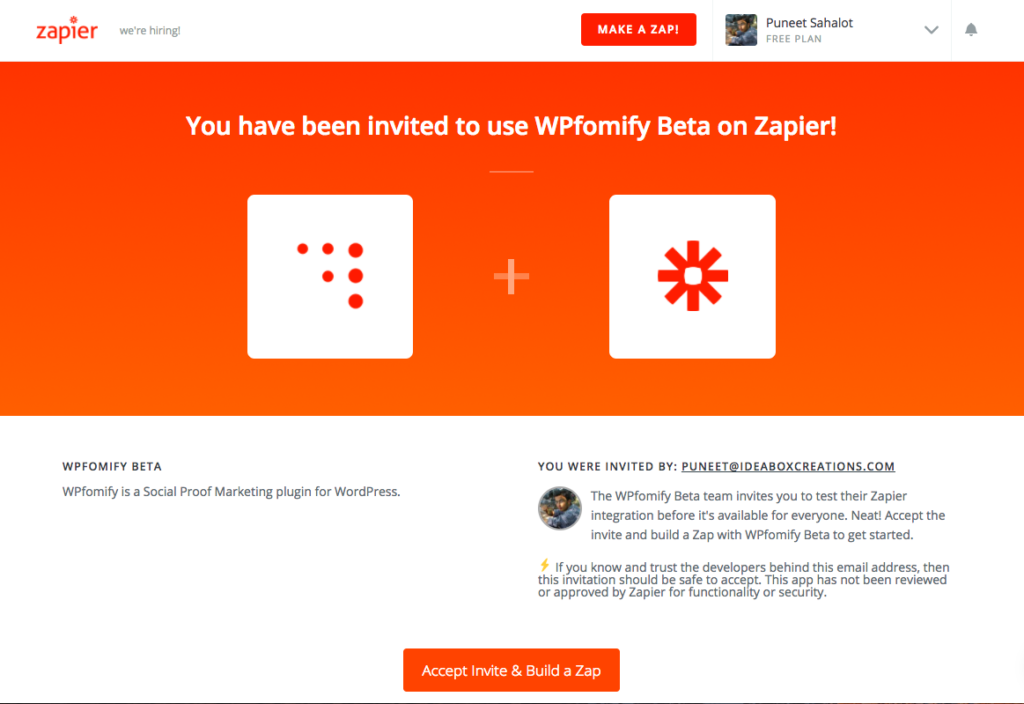
We have built a Zapier App for WPfomify. Sign in to your Zapier account, Click this link to accept the invite and start using WPfomify Zapier app.
Now we can create our zap for the integration.
Creating the Zap
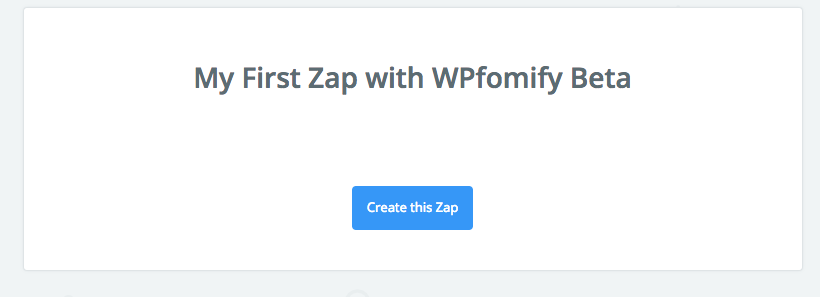
Step 1: Click the blue button “Create this zap” button to create your zap.
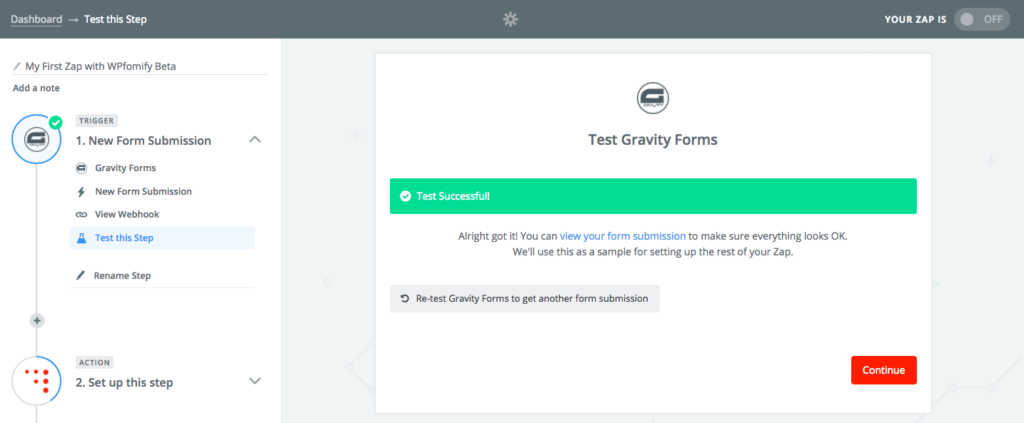
Step 2: Selecting Trigger App. Choose your trigger app. Your trigger app is the source of your data. In this example, I am going to use Gravity Forms as a source trigger. You can choose from several other available options depending on your requirements.

Follow the instructions to connect your Trigger App with your website/app. You will receive a notification of a successful connection as shown below.
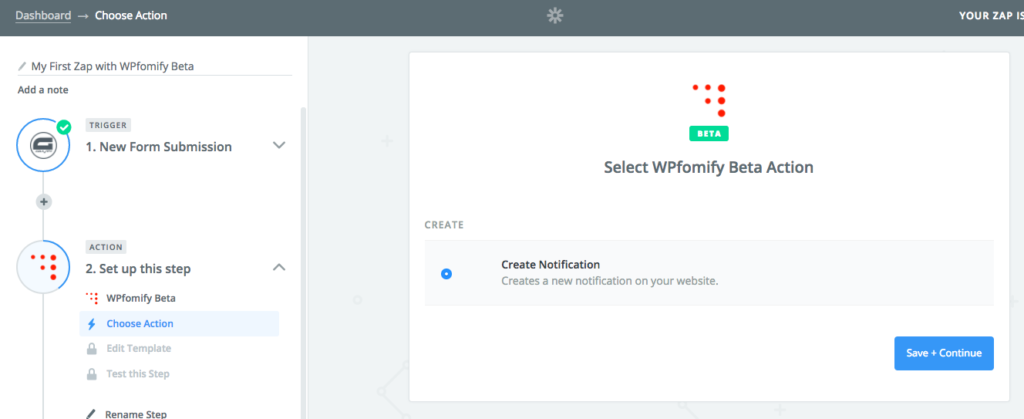
Step 3 – Setting up Action App. Now, connect with the Action app. This is where we need to use WPfomify app.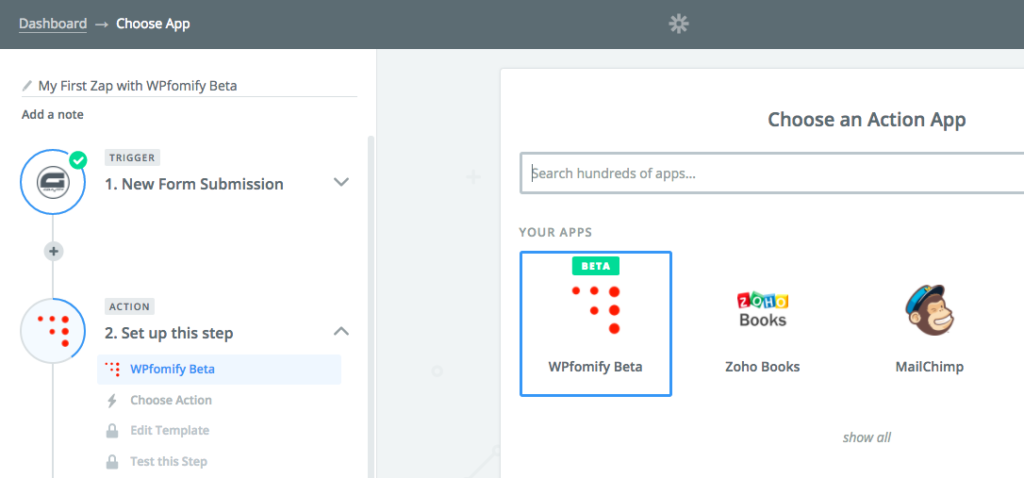
Select WPfomify Beta app and continue.
Now, we need to connect the WPfomify app with your WordPress website where you have WPfomify plugin active. To do this, click the Connect Account button.
It will open up a popup as shown below:
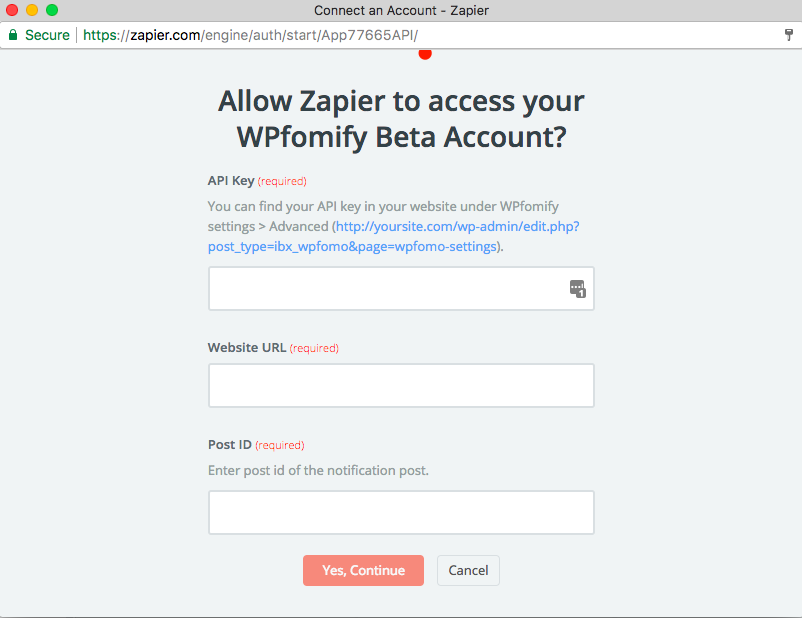
We need to fill the following information:
- API Key – you can find this from WP admin > WPfomify > Settings > Advanced Tab.
- Website URL – This is your website URL
- Post ID – This is the ID of the Zapier notification that we published above.
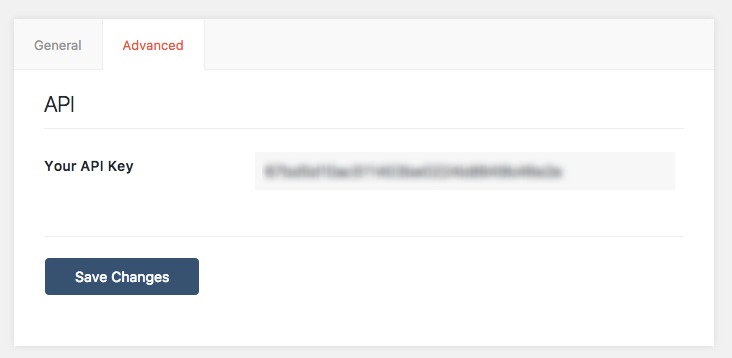
Finding your API Key
Login to your WordPress website and go to WP admin > WPfomify > Settings > Advanced Tab. Copy the API key from here and paste it in the API Key filed in the Popup Box.
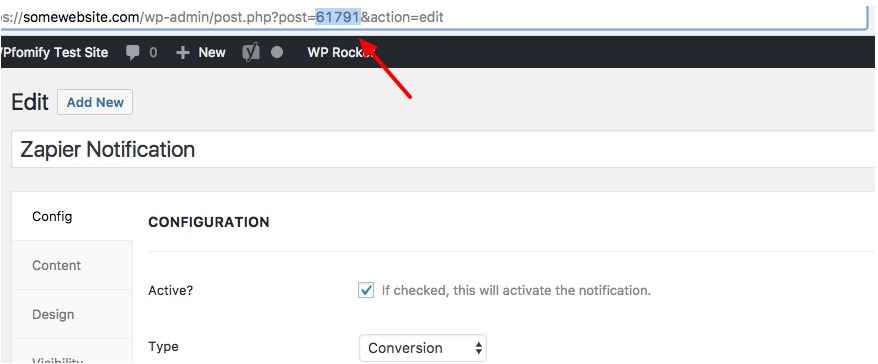
Finding the Post ID
Go to WP admin > WPfomify page. It will display all the notifications. Edit the Zapier notification that you created at the beginning of this post.
Check the URL for this page, it has a number after post, this number is your Post ID
Put the API Key, Website URL and Post ID in the popup box and click Yes, Continue button.
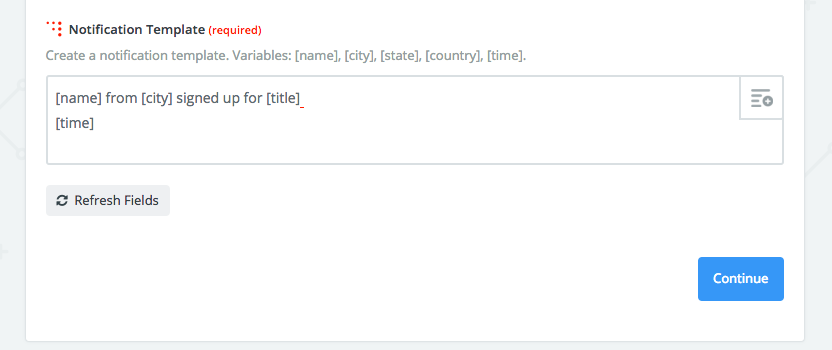
Creating Notification Template
Enter the name of your Product/Service in the Title field. For other fields like – name, email, city etc. you can get the details from the Trigger App.
That’s all! You have successfully connected Zapier with WPfomify.
Creating a Zapier Notification
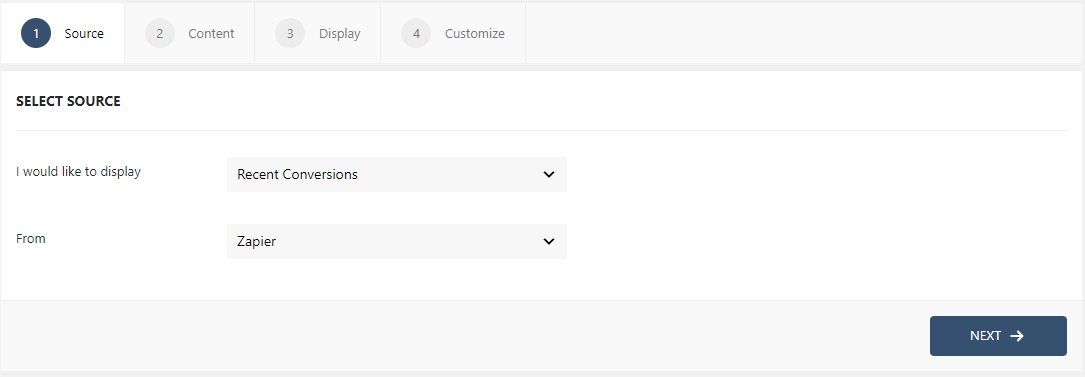
Step 1: Go to WPfomify > Add New and create a new notification. Select the Notification Type as Recent Conversion and set the “From” or the source as Zapier. Click on the Next button.
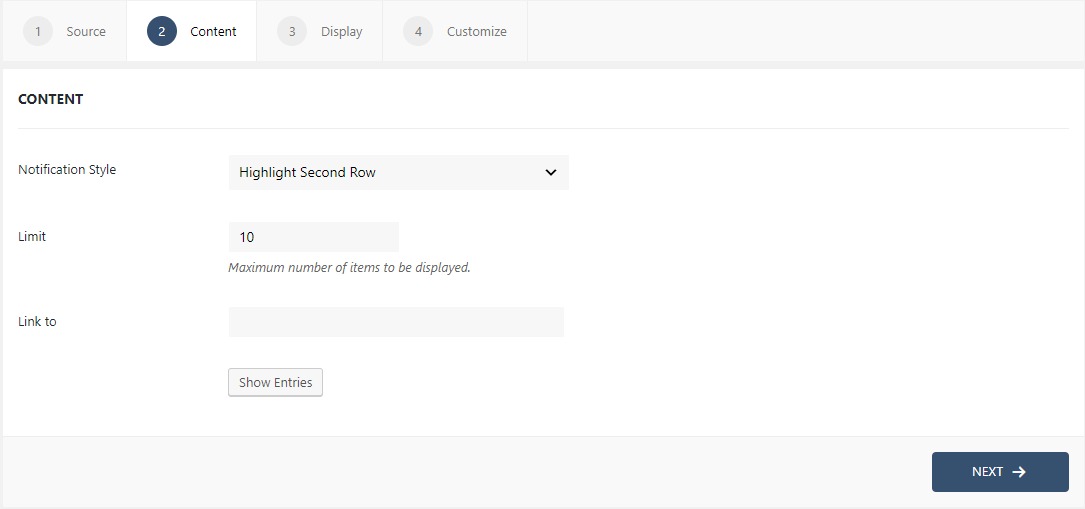
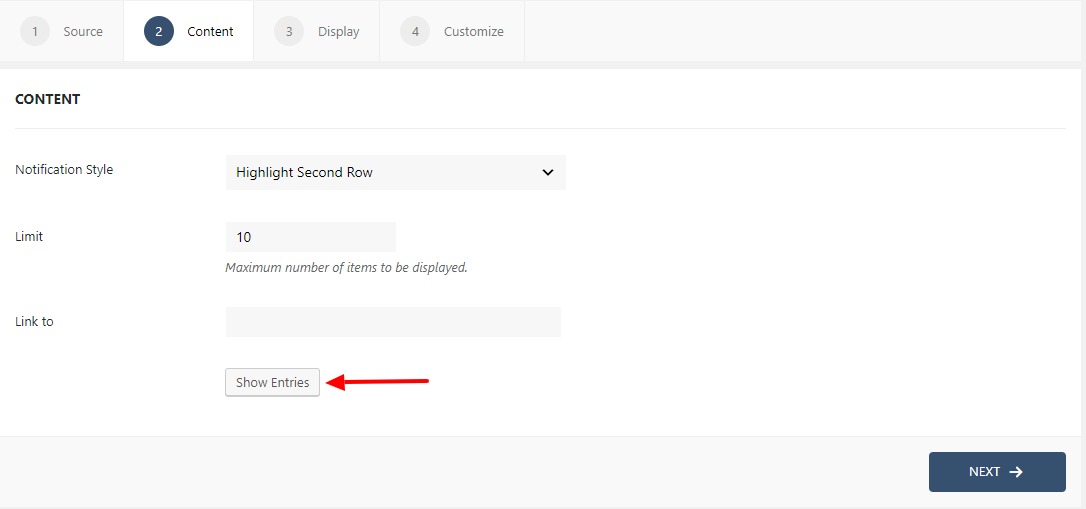
Step 2: In the Content tab, you can make the necessary changes to the content of the notification box. You can limit the number of items to be displayed and can link your notifications as well. If you want to see and alter your entries, you can easily do that from the Show Entries button. If you need more details about the Content Tab, you can refer to our detailed guide- Click here.
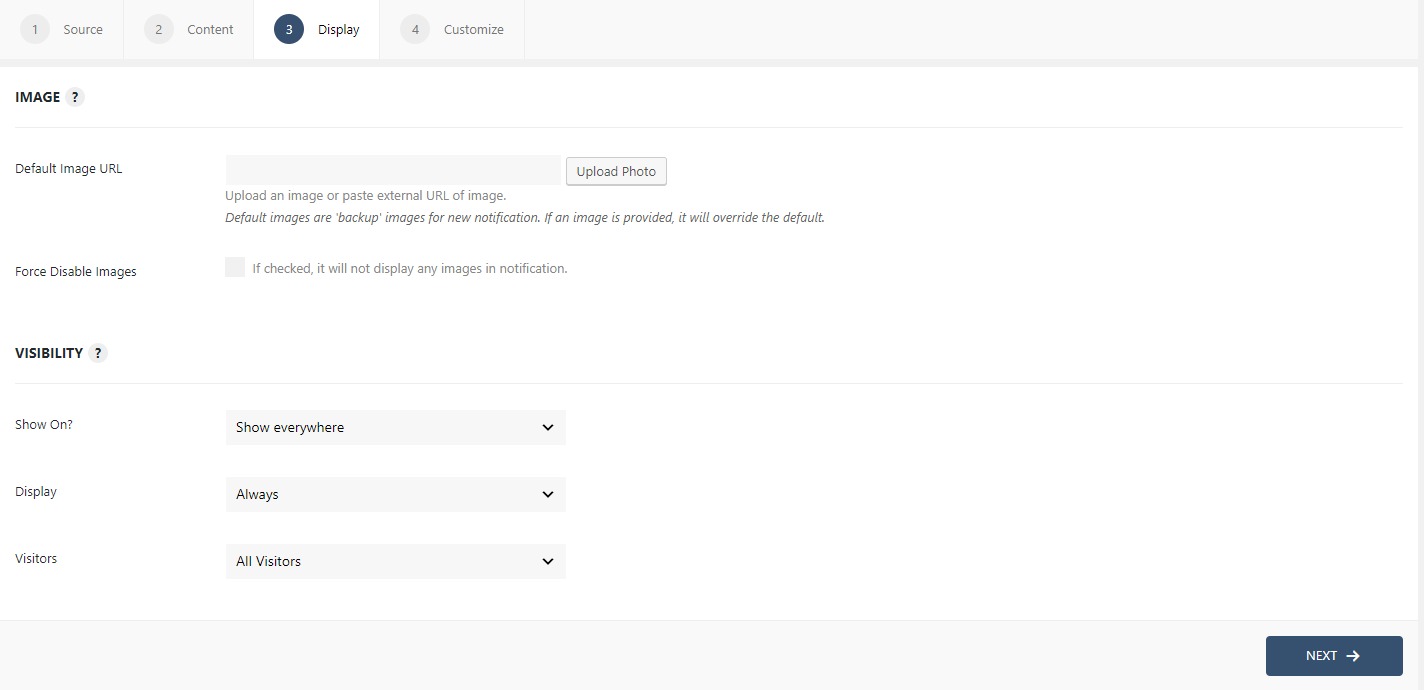
Step 3: The display tab allows you to make changes how, where, when and to whom your notifications will be displayed. The options are quite easy to understand but if you want to know more about it, have a look at this article.
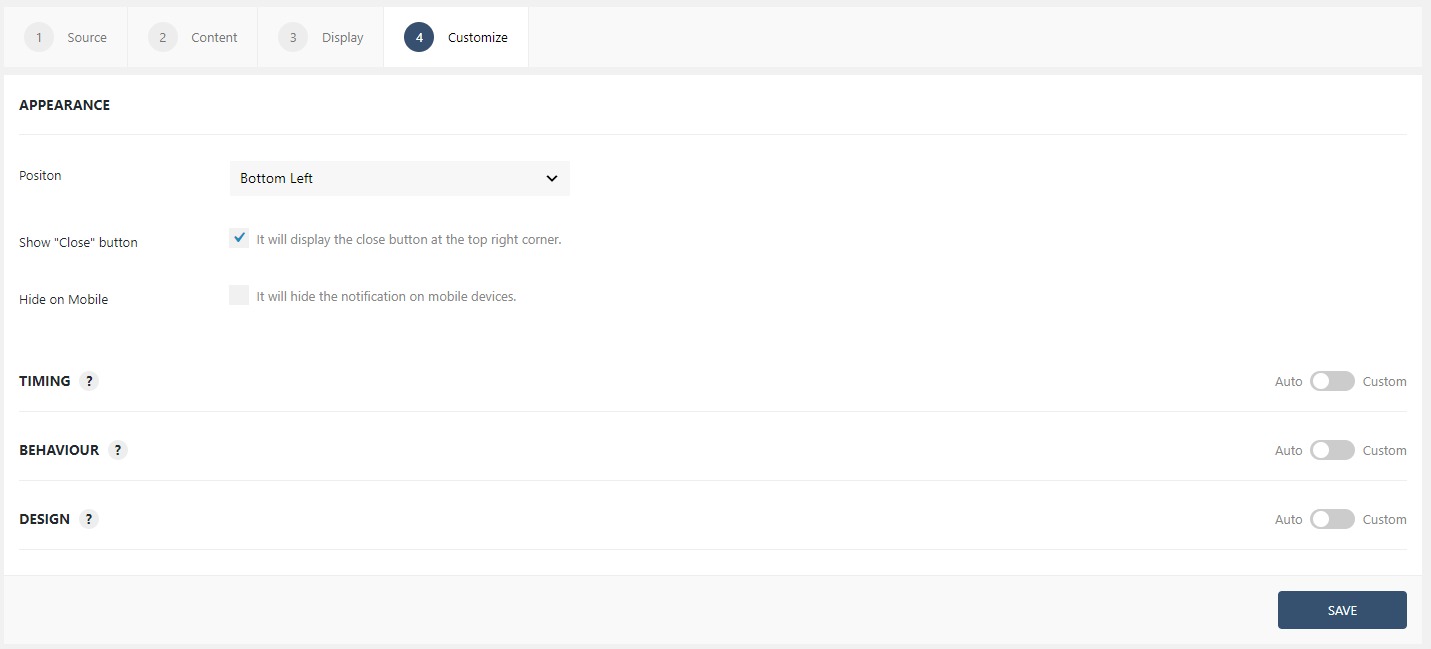
Step 5: You can move onto the Customize tab. Here you can change the appearance, timing, and design of your notification box.
Read more about the Customize tab, here.
Once you are done, click on the Publish button to make the notifications live.
Managing your Entries
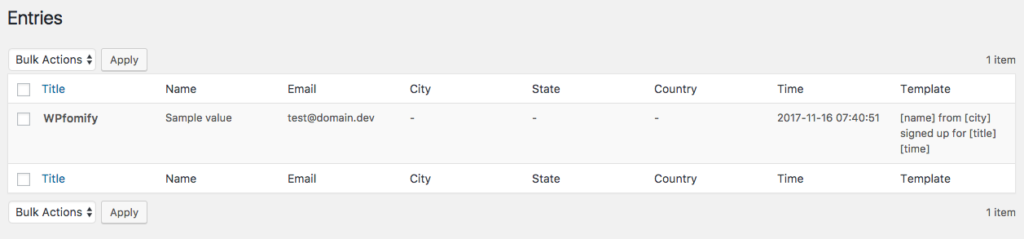
Each entry gets saved to the WPfomify notification on your website. So, you can easily update/delete these entries from WP admin. To do this, go to WP admin > WPfomify > Edit the Zapier Notification and click the Show Entries button under the Content Tab.
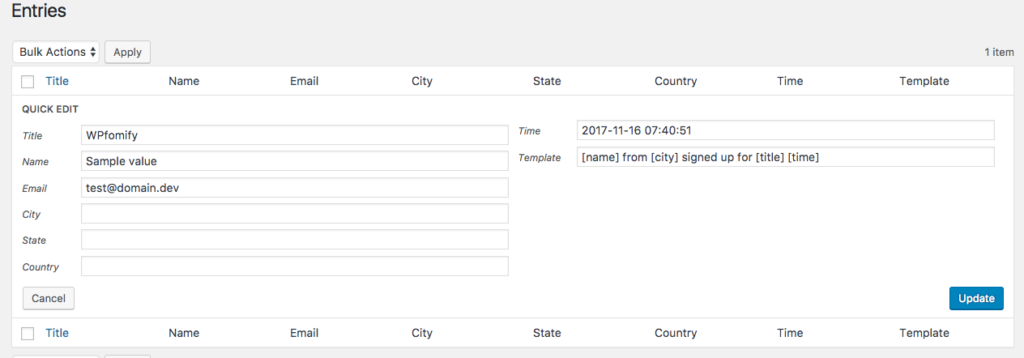
This will take you to a new page which lists all the entries. You can click the Quick Edit link to update the data for the entry Delete it.
If you have any questions or need help, please feel free to contact us.