How to Install WPfomify?
Looking forward to adding that missing FOMO factor on your website with WPfomify?
This setup guide will answer all your queries and will help you set up your notifications system in one go.
Let’s get started, shall we?
Installing the WPfomify plugin
Step 1: To embrace the power of FOMO we need to install the plugin. For this, first of all, log in to your WPfomify account and go to My Account> Downloads and Orders.
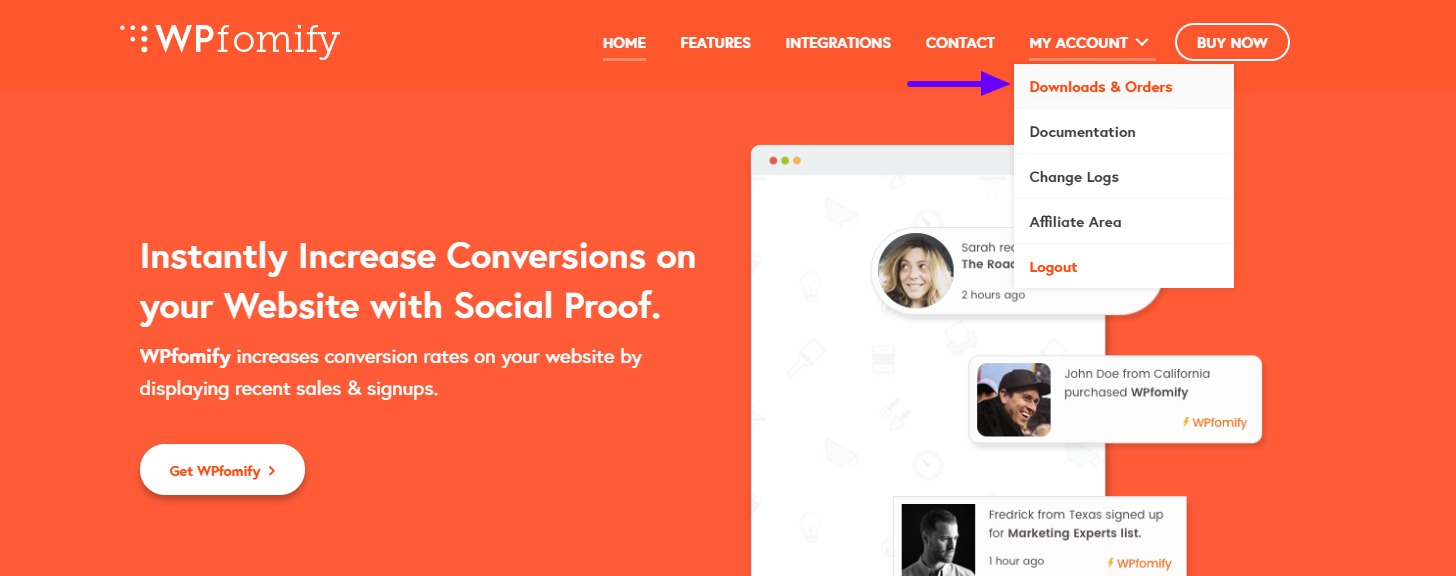
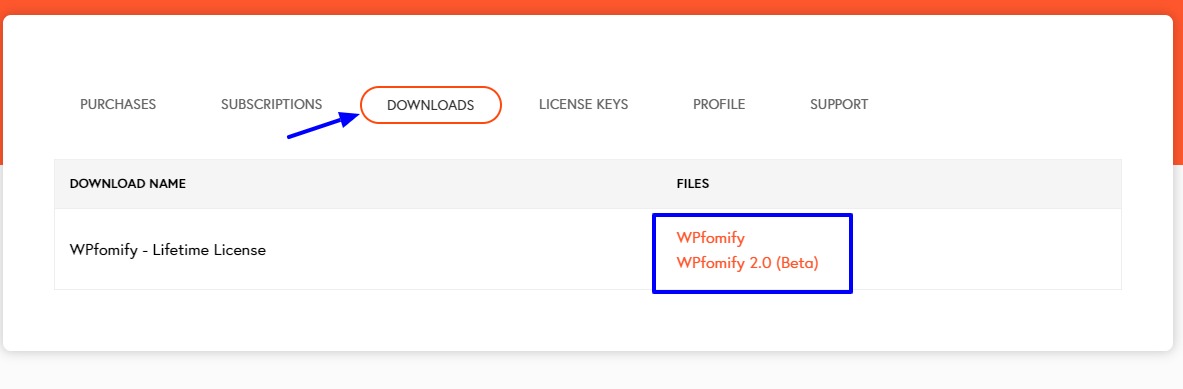
Step 2: Now, click on the Downloads tab and click on the WPfomify link to begin your download.
Now we will be installing the WPfomify plugin on our WordPress website.
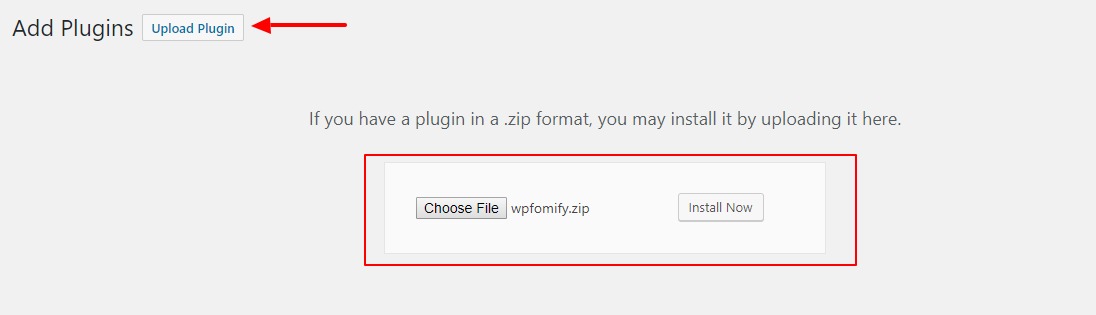
Step 3: Login to your WordPress website and go to Plugins and click on add new.
Step 4: Click on the Upload plugin button at the top left corner and upload the plugin and click on Install now. Once the Plugin is installed, click on the Activate Plugin button to activate WPfomify.
Activating your License
If you have installed WPfomify, the next thing you need to do is activating the License. Here is how you can do that.
Step 1: Go to WPfomify.com and click on My Account in the top Navigation bar. Log in if asked.
Step 2: Click on the License Keys tab and click on the Copy button to Copy the keys to your Clipboard.
Step 3: Now, we have the license key, we simply need to add them to our WordPress website’s installation. Log in to your Website’s WordPress dashboard and Go to WPfomify> Settings.
Step 4: Under the General Tab, paste your license keys and then click on the Activate License button. You will see the license status as “LICENSE IS ACTIVE”.
Congratulations! You have successfully installed WPfomify!
Now, it is time to see how to install and activate the addons. Check here how you can do that.