How to Display Gravity Form Submissions using WPfomify?
WPfomify provides direct integration with Gravity Forms so that you can easily display form submissions using WPfomify. Please note that this does not require installing any additional addon other than Gravity Forms.
Before we proceed with the steps to set up the fomie please check that:
- Gravity Form is installed and activated.
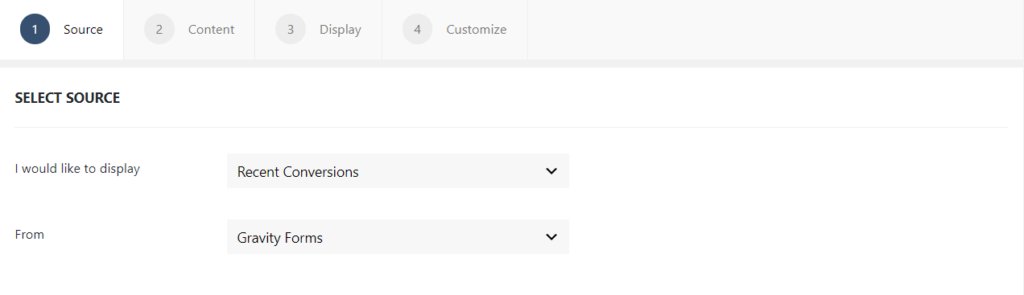
Step 1: Go to WPfomify > Add New and create a new notification. Select the Notification Type as Recent Conversion and set the “From” or the source as Gravity Forms. Click on the Next button.
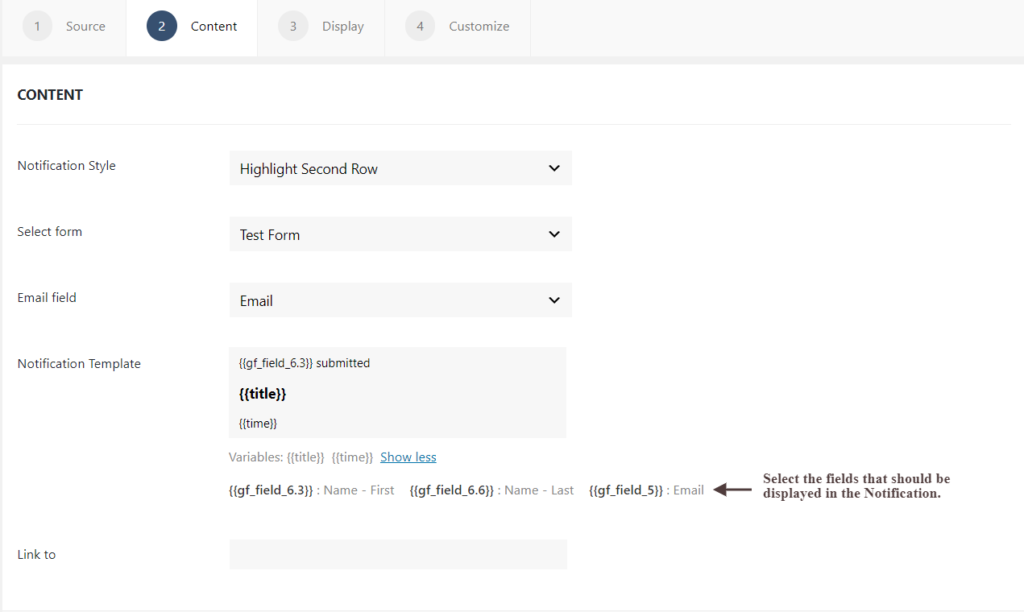
Step 2: In the Content tab, you can make the necessary changes to the content of the notification box. You can link your notifications as well. Please note that the Content Tab for Gravity Forms integration does not provide option for selecting Name fields. You can select them by adding the respective fields directly to the Notification Template. If you need more details about the Content Tab, you can refer to our detailed guide- Click here.
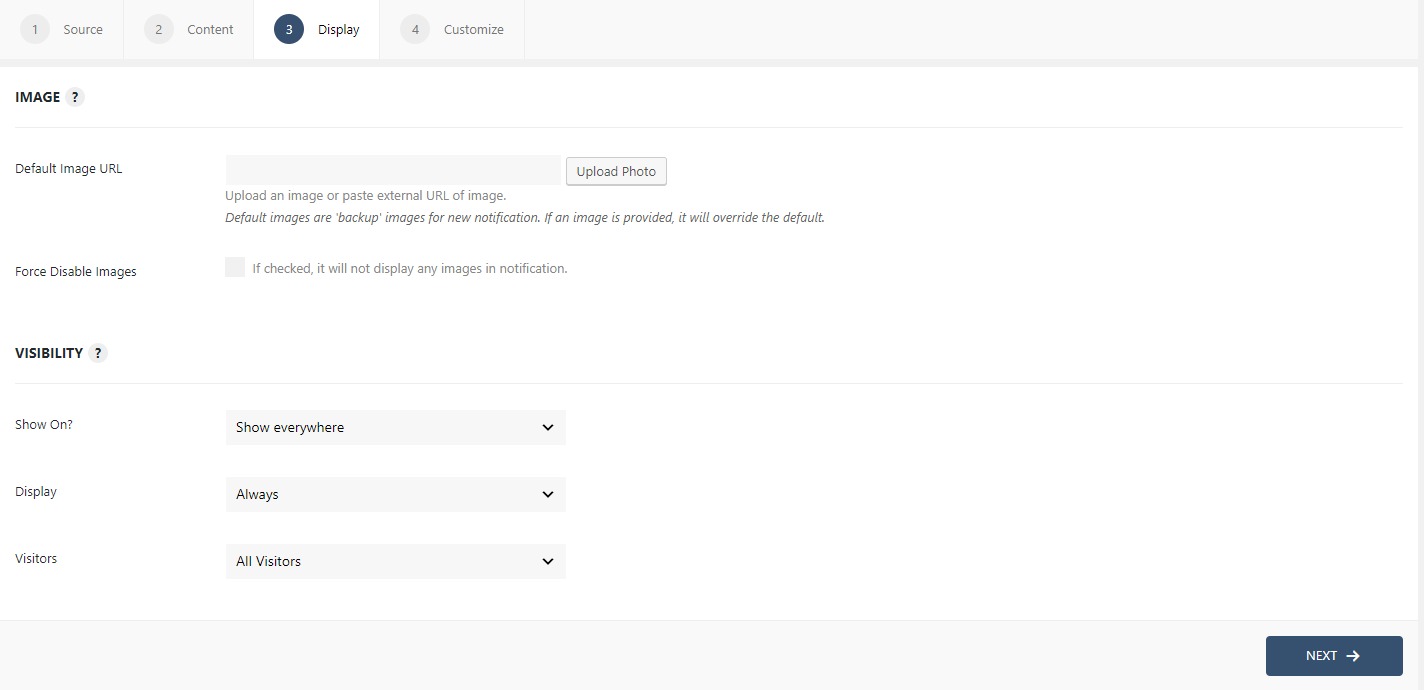
Step 3: The display tab allows you to make changes how, where, when and to whom your notifications will be displayed. The options are quite easy to understand but if you want to know more about it, have a look at this article.
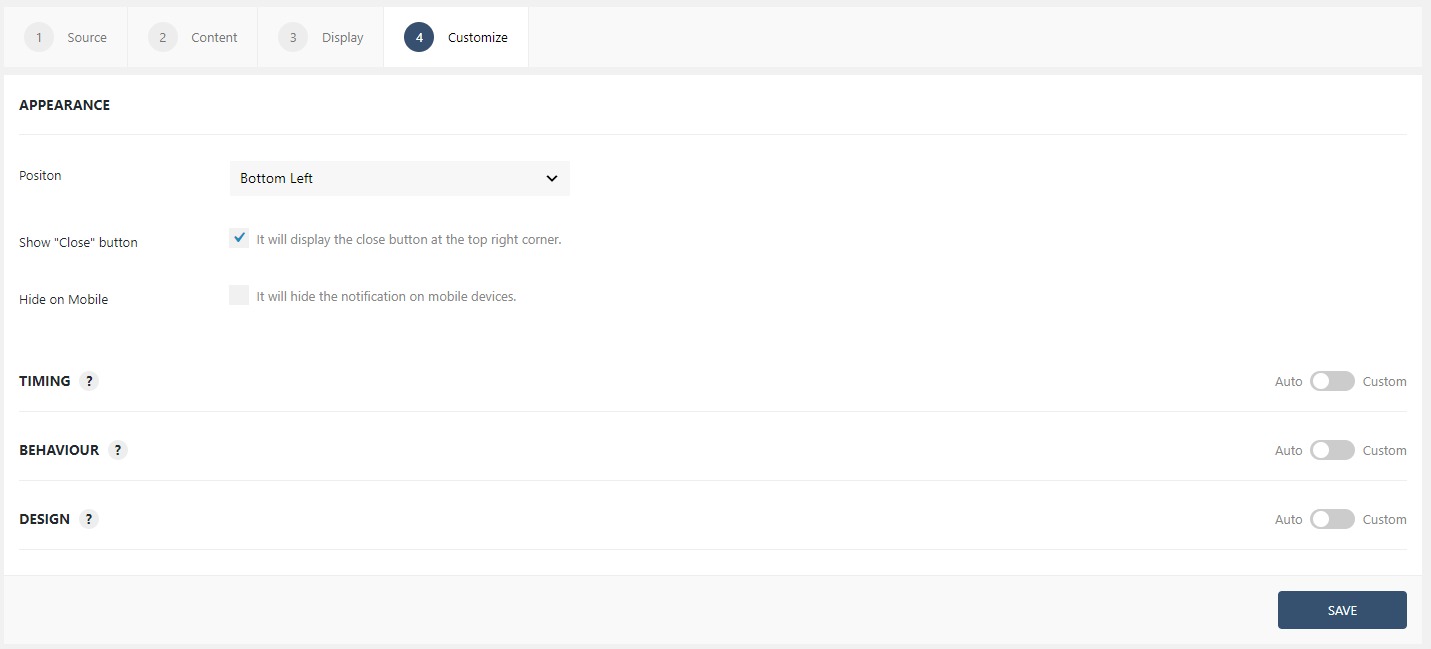
Step 5: You can move onto the Customize tab. Here you can change the appearance, timing, and design of your notification box.
Read more about the Customize tab, here.
Once you are done, click on the Publish button to make the notifications live.
If you have any questions or need help, please feel free to contact us.